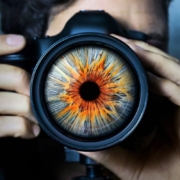
8 point -You Know You’re a Photographer When…

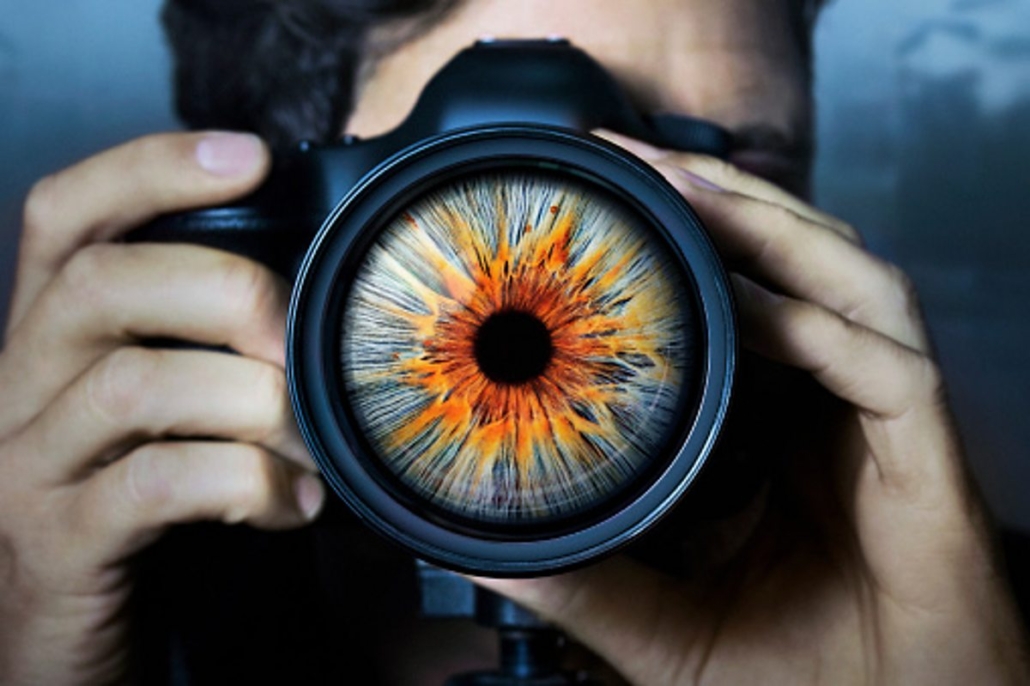
Being a photographer is more than just a hobby or a career choice—it’s life. Something you feel you literally could not live without. Every instant of your waking moment, you feel the dire need to pull your camera out and take a picture of the beauty of your surroundings. Sound familiar? I have compiled a list of eight ways you know when you’re a photographer.

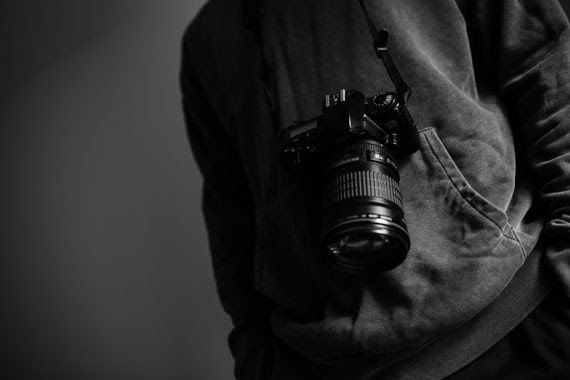
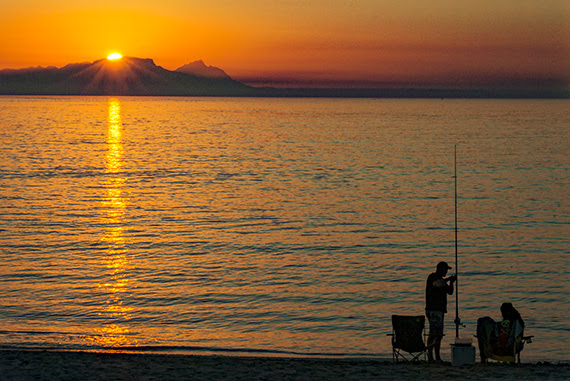
1. You get upset when you don’t have your camera on you.

I feel as though every photographer knows this feeling. For instance, maybe you decide to go for a walk down to the beach and accidentally leave your camera sitting on the kitchen bench. When you go to take a picture, your heart drops. And the only reason you don’t know you’re missing your camera until you get to the beach is because you’re so used to it being in your hands; it’s almost second nature. Your body has adapted to your photography addiction, and it doesn’t recognize when something is drastically wrong. Am I right?

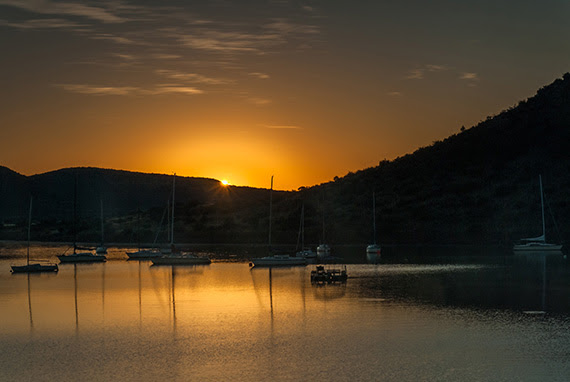
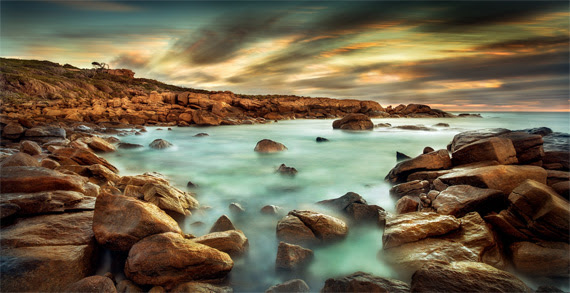
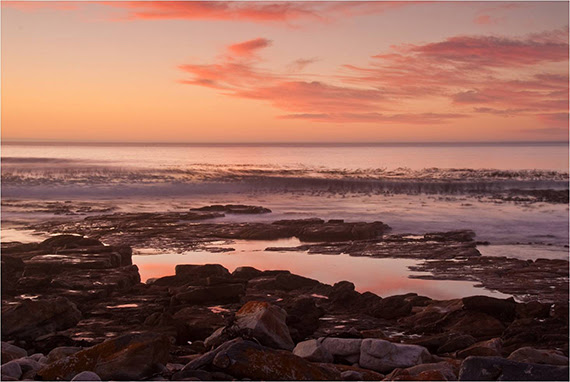
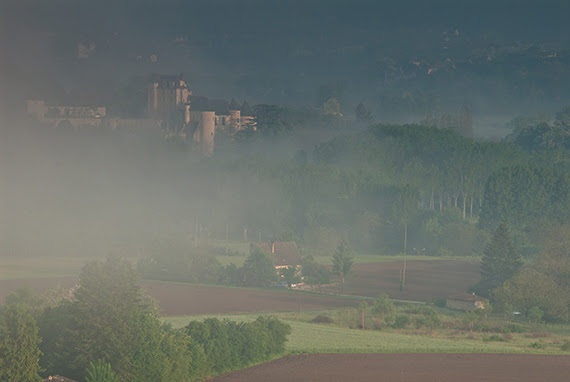
2. Lighting > Equipment

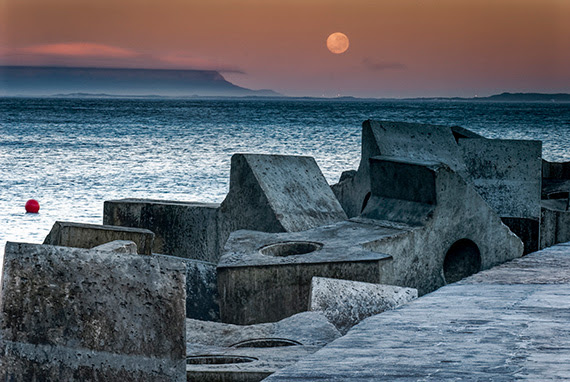
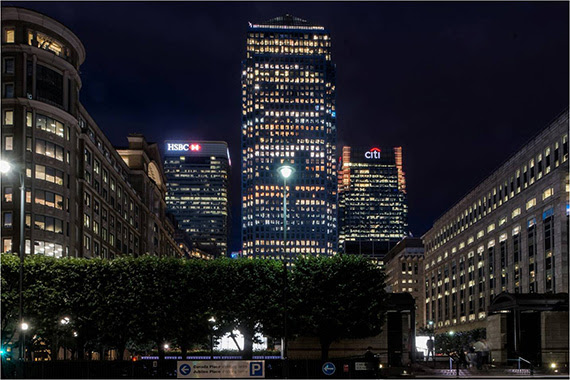
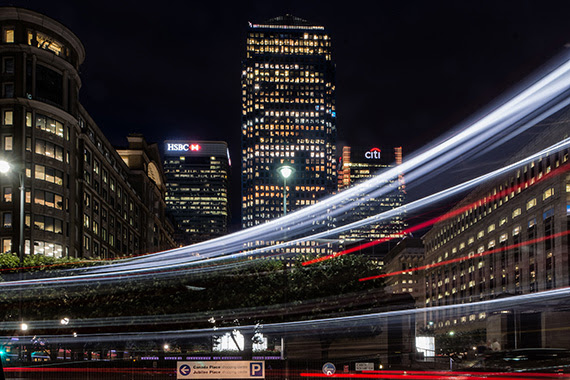
At some stage in a photographer’s life, there comes a point when having the best equipment just doesn’t cut it. You begin to realize that there’s more to a good photo than the equipment (although it’s still one of my many pleasures) You realize that the the lighting of the photograph is the important part. Unfortunately, there is (arguably) no tool that can give you perfect lighting other than taking a photo at the right time, at the right angle, and using the lighting of the situation to your advantage.

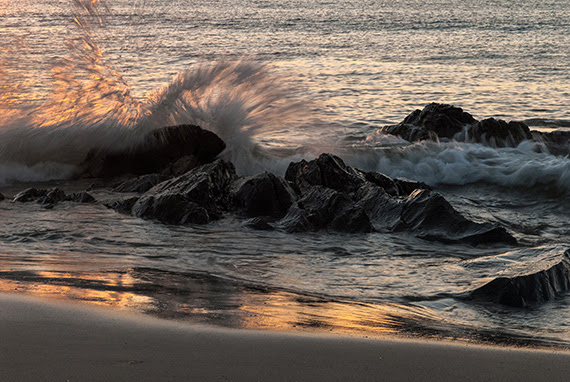
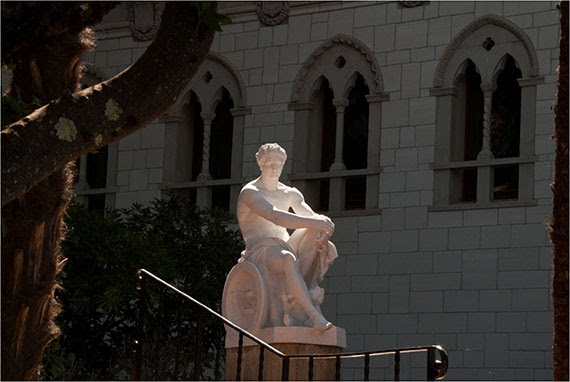
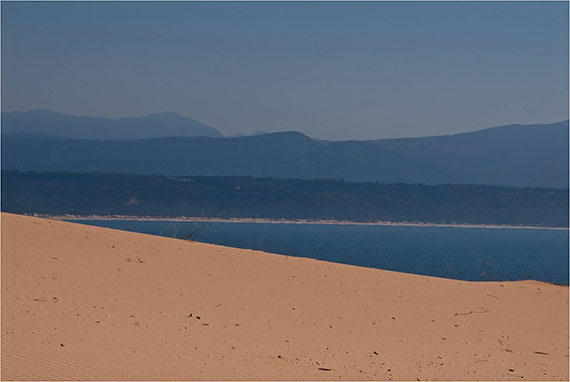
3. You can make crap look good.

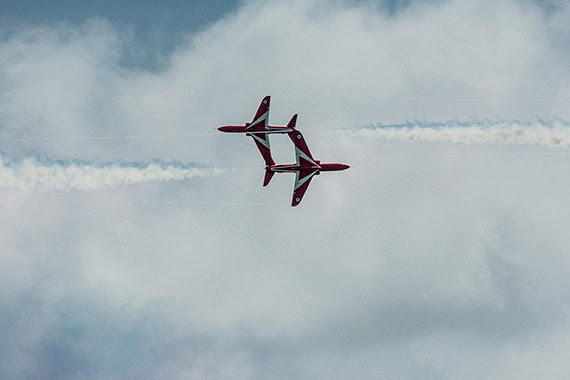
Okay, so this one might be stretching it, if we’re taking the point literally. I mean, maybe you can turn a piece of dog poo into art, but that’s not entirely the point I’m trying to make. Basically, as a photographer, you see potential photographs that most people couldn’t imagine being a photograph. Maybe it’s a picture of a trash can or a brick wall—whatever it is, you begin to think outside the box; you begin to take pictures, and you develop a sense of what makes good photographs, regardless of what other people may think.

4. Your camera battery runs out before any other gadget.

Photographers are known best for having their cameras with them at all times. Regardless of the event, the camera will be glued to the photographer’s hand for that perfect moment to take a quick photo. However, this comes with negative repercussions. The camera batteries do not last a lifetime. Unfortunately, photographers must face the constant annoyance of having their camera battery die before their phone battery. For most “normal” people, this is simply unfathomable. For photographers, this is the harsh reality of being addicted to using a camera.

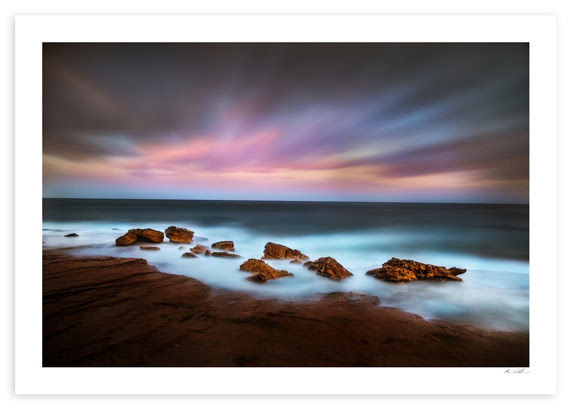
5. You think the sound of a camera shutter is pleasurable.

There is nothing I love more than the sound of a camera shutter. It’s like music to my ears, and I know many people who can relate. For some, the sound of birds is pleasurable; for others, it’s math equations (is that even a thing?). But for photographers, it’s the sound of the camera shutter—knowing that a high quality photograph will be a result of the shutter. Surely there are more of us out there?!

6. You get annoyed at people who buy top-of-the-line cameras only to take selfies.

When you take photography seriously, just like any other form of art, nothing is worse than people who purchase the latest and the greatest cameras only to take photos of themselves. Okay, in some cases, it can be a justified purchase. Maybe you’re a model? But if you’re uploading it to Facebook for only your friends and family to see, then maybe you can understand why photographers get irritated. You see, photographers (in most cases) very rarely take photos of themselves. Instead, they’re exploring the beauty of the world around them too much to worry about themselves.

7. You are offended when someone makes a harsh comment about your camera.

“Your camera looks too big,” for example, is just unnecessary criticism. What do you want me to do about the size of my camera? Do you think I didn’t notice? People don’t seem to understand that if you insult the camera, then you might as well insult the camera owner. At least we then have a reason to get offended, right? I mean, how would you feel if someone came up to you and said you had a big nose? Is that more of a justified reason to act offended? If you’re a photographer, then the answer is no.

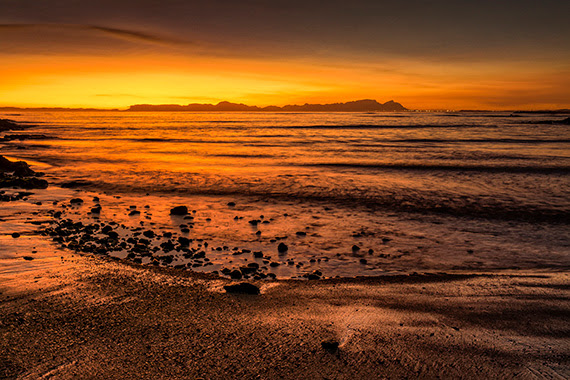
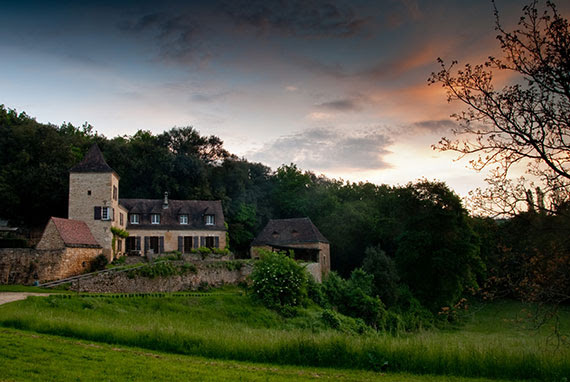
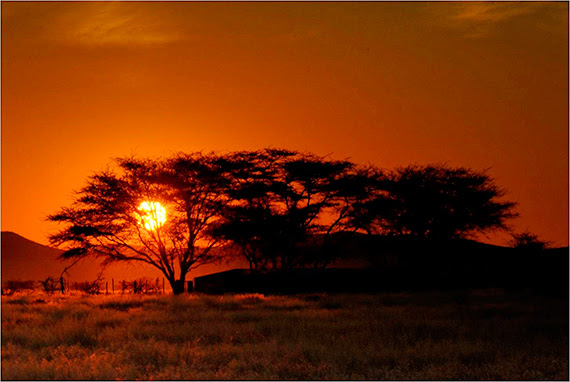
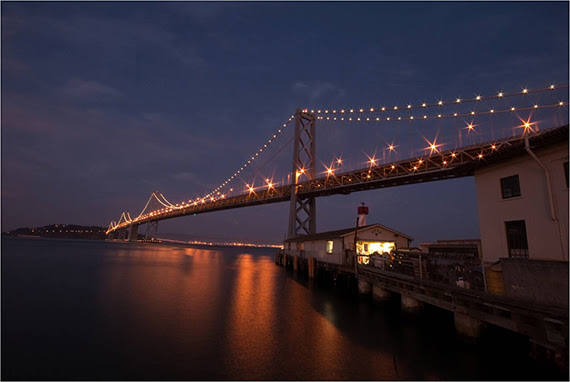
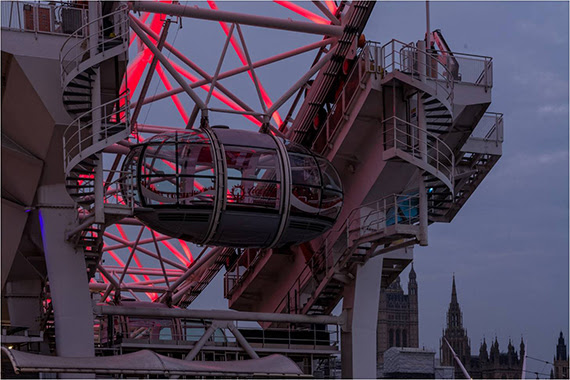
8. Traveling is more about photography than it is relaxing.

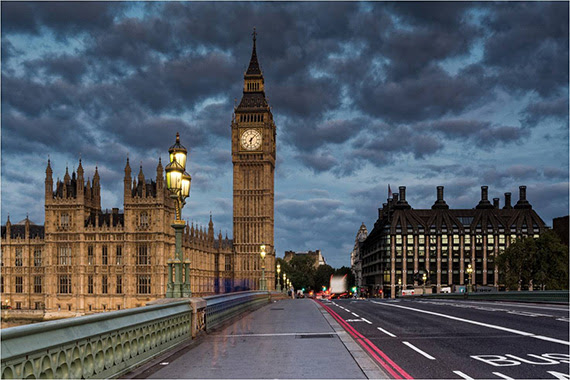
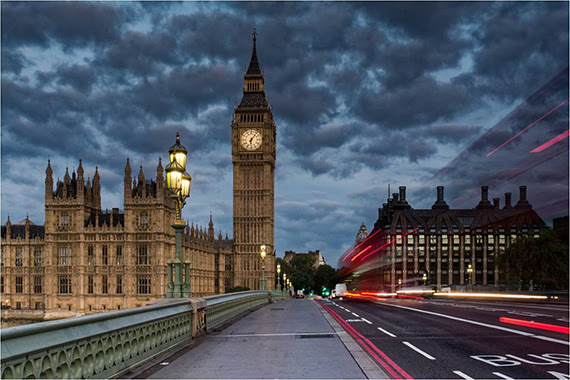
Finally, we have come to my favorite point of all: traveling. For most people, traveling is more about relaxing—building strong memories to last a lifetime. Photographers want much more than that. We want to be reminded of our traveling experiences with physical memories—photographs of our experiences. Why have a slice of cake when you can have the whole thing? That’s not to say that photographers don’t know how to relax, but we would rather capture the surroundings of the location than waste our time sleeping on the beach.

6 Tips on Painting with Light: Intentional Camera Movement

Intentional Camera Movement is the when the camera is moved in horizontal, vertical, diagonal, or random directions while the shutter is open. The resulting image is deliberately blurred and often abstract.

ICM images are not what most people think of as traditional photographs. I describe it to people as “painting with my camera,” because my images are painterly and impressionistic. Others can be more abstract.

Each photographer finds their own process and develops their own style and signature—this is true for all photographers and for those who employ ICM in their work, thus, I offer these tips and techniques aware of our individual approaches to photography. As a photographer interested in ICM, you need to find your own way through the inspiration of others and develop your own style.

Tripod

Using a tripod is the best way to introduce yourself to deliberate camera movement. It’s an invaluable tool to start with by employing long sweeps from right to left and left to right in 2–3 second exposures under low light conditions. You need to be under low light conditions or use neutral density filters to allow you to shoot in daylight. Study your EXIF data after you’ve discovered what you like in your work; it will give you important information about how to set your shutter speed and aperture to achieve the look you’re going for in your photographs.

Shutter Speed

Shutter speed is probably the most important element to control what you want in your photos. I prefer, for my own work, to work between 1/20 and 1/5 of a second. In order to accomplish good results at these fairly fast slow shutter speeds, you need to move the camera very quickly with a strong follow through and camera set on “continuous shoot.” In daylight, setting your camera at its lowest ISO and closing your aperture down will help you get the shutter speed that works for you. I prefer to use aperture priority or bulb mode on my camera to achieve the slower shutter speed, because I’ve found that shutter speed priority will vary as the camera is moved particularly around light and dark areas in the subject matter.

Choosing Your Images

When it comes to choosing your best ICM images, it’s subjective, like all art. However, here are some guidelines to help you see beyond the initial photograph before you delete it! When you choose your images, certain interrelationships within the image you’ll want and others you won’t.

For example, the balance of colors, gradations and tonality— lightness to darkness within the image—will improve your photograph. Looking closely at your photo to find the image within the image is a great skill to develop because you can take an okay image and make it better through cropping—other images just cannot be improved. Interrelationships between light and dark, the “heaviness” in color or darkness needs to be balanced in an image. You do not want an image that is too dark or heavy on one side but rather, is equally weighted visually.

Layers of colors and tones need to be balanced, too. For example, a heavy layer at the top of an image that takes up 2/3 of the space with several smaller layers at the bottom of the image is not the best option because it’s not as pleasing to the eye. Cropping that layer to balance the bottom of the image is an option to consider.

Conclusion

Finally, experiment, experiment, experiment! Find inspiration in photographers you admire who take ICM images and have fun with it—play!! Experimenting with ICM will help you, as a photographer, find your own style, your own way of working with this approach to photography—you don’t want to copy another photographer, but be inspired by them!

If ICM is for you, you will find that your passion for it will grow daily and you’ll need several memory cards because this technique takes up a lot of space!

Perfect Timing in Photography Composition

When we create photographic images, we would like our compositions to be different and eye-catching—even when the subject is common.

We all know that timing is extremely important in photography, as it can make all the difference between an excellent image and one that is mundane.

We have the standard timing of sunsets—we have to be on site at the correct time and know when the sun will set.

By the same token, we know at what time the sun will rise if we are looking for sunrise images.

Both of these are linked to what’s called the “golden hour.”

Then we have other natural timings to help us capture images we have planned, such as tides:

This also applies to moonrises and sets:

These are all natural events and we have no way of changing the times at which they occur. If we want sunrise images we have to get out of bed early!

What I would really like to highlight, however, is how we, as photographers, can use timing to get unique images that are truly ours. This is not difficult. All it needs is a bit of forethought and patience.

Obviously, sometimes a slice of luck can help!

By just taking time to appreciate what is happening in the scene, we can give it a very different perspective. Look for any movement and decide how to somehow incorporate this into your image—but in a way that will complement the subject.

A standard early morning image of Big Ben along Westminster Bridge. If we take the time to wait, we can catch a bus!

The bus makes the image just a bit different.

We can try to catch the bus again—this is an interesting night scene as is, but, again, a bit of patience can be very rewarding.

The long exposure of the bus really does change the image!

Always wait for the right moment—with good timing, we can create excellent images that are distinctly our own! Shooting in digital makes this all so much easier as we can see immediately if we have captured the image we want. Have fun!

Quick Long Exposure Photography Calculation Trick

Long Exposure Photography Calculation Trick

Long Exposures look great but can be a little tricky to get the correct exposure. Sure there are Apps and charts to help out, but, what if there was an easier way?

A way that doesn’t require an App, doesn’t require a chart and most importantly doesn’t require taking your filters off to calculate the exposure length.

The easy way to perfectly calculate the exposure time for your long exposures every time!

Let’s get into it.

  1. Frame up your shot
  2. Place the filters you wish to use into your filter holder and onto the camera, ready to shoot
  3. Set your ISO to 6400
  4. Test shoot at ISO 6400 until you have the perfect Histogram
  5. Once you have the perfect histogram, take note of the exposure length.
  6. Set your camera back to ISO 100
  7. And now how many seconds exposure at ISO 6400 now equal minutes at ISO 100

Basically, with all your filters in place and your camera set to ISO 6400, if the perfect exposure was 1 second, once you switch back to ISO 100 your perfect Exposure will be 1 minute.

2.5 secs = 2.5 minutes
10 secs = 10 minutes

Once you have the perfect exposure at ISO 6400, you have the perfect exposure at ISO 100.

ISO 6400 Seconds = ISO 100 Minutes

Why? Basically, it comes down to ratios.

60 seconds in 1 minute = 64 ISO 100s in ISO 6400 – roughly the same ratio’s.

I guarantee this technique works perfectly in constant light. Go out at midday with your 10 stop filter and try out the ISO 6400 technique. I bet it works every time!

Just make sure you remember to switch back to ISO 100 before taking the Long Exposure!

Oh and remember to calculate the ISO 6400 seconds with your filters in place.

Long Exposure Tips

  • Make sure when you are shooting LE’s that you cover up your rear viewfinder, a little light can sneak in there and ruin your Long Exposures.
  • LE’s can be really tricky when the light is rapidly changing, like Sunset/Sunrise. My rule of thumb here is if you are shooting LE’s as the light is changing, you need to 1/2 your exposure time as the light is increasing at Sunrise and Double it as the light fades at Sunset.
  • Use Bulb Mode to shoot LE’s longer than 30 seconds

The most likely time to damage or break your neutral density filters is taking them on and off your camera. Rather than take your filters off to calculate your exposure time, leave them on and use this simple super fast technique.

Some Thoughts on Composition

When we talk about composition it’s all about the elements that make up the picture – the light, where it falls, how it falls, when it falls, from which vantage point you take the picture, the point of central focus, color, balance, etc. – and how they all interact. Aperture, shutter speed and ISO ratings are the technical basis of a photograph, but the actual composition of all the elements that we’re including in the photograph, and how they interact, is vital.

Early morning light on the small chateau.

We can’t control natural light but we can use it. With correct positioning (crouching, lying down, perhaps even crawling!) you can “move” the sun and light up the statue. Kneeling down with a tripod can also give a different aspect.

The trees make a natural frame for the dam and help to counteract what’s actually harsh mid-day light.

There are rules for composition, but there are also no rules! I prefer to call them tools. They can be very useful, and it’s well worth knowing them before deciding to break them. Good photographs come from experimenting and trying new approaches, with personal taste and subject matter guiding a lot of our responses to a photograph.

But there are two crucial elements – composition and light.

Some of the other important elements in composition are balance, symmetry, asymmetry, shape, form, pattern, texture and so on, but light is necessary to make the image. In its own right, light is also an essential compositional tool considering its direction, intensity, cloudiness, haziness, and color.

Soft early morning light – the sunlight, coming from low over the horizon, throws all the seaside rocks into relief.

Early mornings can bring wonderful light. It’s a magical time of day and so few people make use of it. You can be the only person, let alone photographer, on the beach!

Continuing the feel of morning light, we have the early sunlight catching the mountains giving beautiful reflections in the dam.

Early morning often has the added advantage of no wind, giving a mirror like surface to water. The morning sun also often produces a delightful sky, and using this as a back light can give a dramatic silhouette. Morning sunlight is a swiftly passing phase – plan and be in position to use it.

Statue silhouette with a colorful sky background.

During the middle of the day the light can be extremely harsh, and common wisdom is to not take pictures at this time. However, if you’re not coming back just take the picture. With some thought and planning it can be well worth it.

Back lighting can be wonderful at any time of day, as can muted mist.

Evening light is ever changing and can vary dramatically.

There are always opportunities at any time of day. Be flexible. If the weather and lighting aren’t what you planned, change your approach. Evening light can be particularly beautiful. Make the effort to get out at what can be an inconvenient time!

Make use of the surrounding scenery as props to add something extra to your photographs.

As the sky darkens it’s always a good idea to take your pictures while there’s still a hint of blue in the sky. Once that disappears, the whole character of your photograph will change.

Remember that there’s no such thing as “bad light”.
How often have you heard photographers saying – “I went out, and was there really early, but the light was bad so I had to come home” – or some such comment? What a waste of an opportunity. We’re photographers and we should take every opportunity to experiment.

There’s only light, and what we do with it is up to us!

Aperture, shutter speed and ISO ratings are the technical basis of a photograph, but the composition of all the elements that we’re including in the photograph is vital.
Above all, composition is about your way of making other people see what you’re seeing. A snapshot taken by your camera shows other people what your camera is seeing.

When you actually make the effort of composing your image, you direct others to see what you saw.