Light Painting Photography Techniques: 7 Useful Tips

Light painting is a fun photography technique where photographers use camera flashes, flashlights, and spotlights to paint light in a scene. It can easily qualify as the best/most fun night photography technique. Although many photographers have attempted it before, only a few have mastered the technique. Below are some very useful tips to consider when you want to perfect your light painting skills.

1. Try out different light sources

This is very important You shouldn’t try painting everything using the same light. To avoid odd and flat pictures, consider using different light sources, otherwise your work will defy the sole purpose of light painting, which is to create unique light impressions on different landscape parts at night.
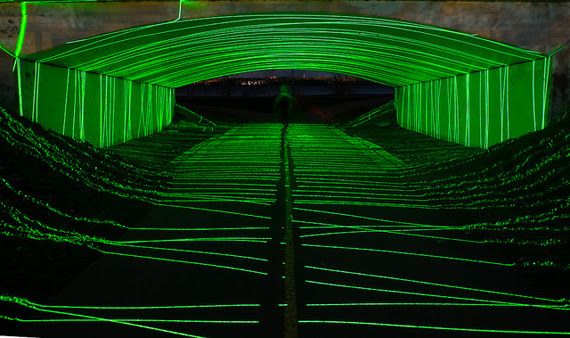
2. Use dimmable light sources

For the best results, you need to choose dimmable light sources, because light painting relies heavily on light intensity. To get the best results, you must be able to alter light intensity whichever way you like to ensure every part of a photo gets the right amount of light.

3. Take care of the noise

It is important to note that long exposures create more noise. Because of this, take time painting in light, but don’t forget to factor in this small detail; it can be the difference between good and bad lighting photography.

4. Take multiple shots

To get the best light painting photos, you need to take as many shots as possible. Multiple shots help you treat different parts of a photo separately which should be the case in light painting.

5. Use flashlights that don’t have hot spots

Moving your flashlight beam randomly when taking light photos doesn’t make a big difference even if your flashlight has a hot spot (a bright circle located at the center of the beam). The hotspot does, however, make a big difference when you are considering fine details in scenes. If you don’t have money to buy the perfect flashlight, consider taping tissue paper or wax paper over your flashlight lens to eliminate hot spots.
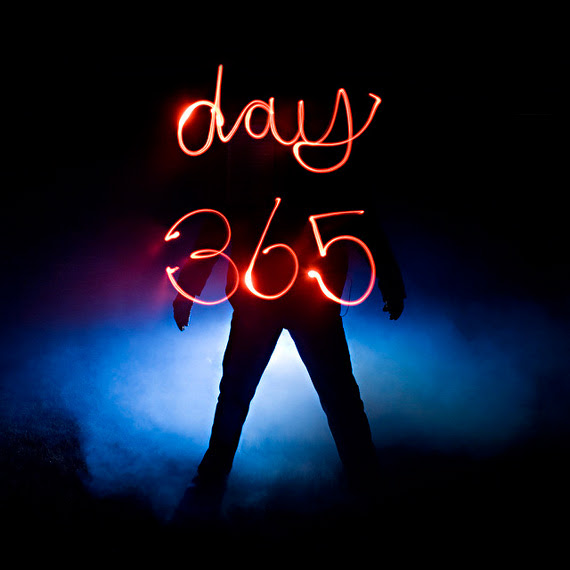
6. Include night photography techniques

Just because you are light painting shouldn’t mean you forget typical night photography techniques. You must consider techniques like mirror lockup, cable release, long exposure noise reduction, etc., to ensure you get the best outcome.

7. Mix ambient light

You should also remember to incorporate ambient light—like street lights or moon light—to add mood to your photos. Using flashlights shouldn’t mean you ignore all other light sources.
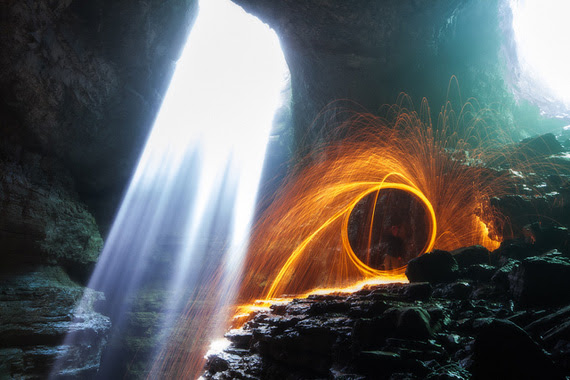
Keep these tips in mind next time you head out for a light painting shoot.

The Photographer’s Palette: The Role of Color in Composition

Colors are the silent narrators of the stories that unfold through photography. They can evoke emotions, guide the viewer’s eye, and create a compelling composition. Photographers, both amateurs and professionals, should consider color as an essential tool in their creative arsenal to enhance the visual storytelling experience. In this blog post, we delve into the importance of color in photography composition and how you can use it effectively.

The Role of Color in Photography Composition

Photography is a visual medium that relies heavily on composition, the arrangement of visual elements within a scene. A well-composed photo has a balance of elements that guide the viewer’s eye through the image, creating a visually pleasing and engaging experience.

One of these elements, often overlooked, is color. Colors can have different psychological effects on the viewer. They can stimulate emotions, highlight subjects, create depth, and even convey concepts and ideas. Understanding the role of color in photography can, therefore, elevate your compositions, taking your photos from merely “good” to “outstanding.”

Color Theory and The Color Wheel

Before diving into the practical aspects, understanding some basics of color theory can be beneficial. Central to color theory is the color wheel, which includes primary colors (red, blue, yellow), secondary colors (green, orange, purple), and tertiary colors – the result of mixing a primary and a secondary color.

Colors opposite each other on the color wheel are complementary colors, and when used together, they create a vibrant contrast. Analogous colors, those close together on the wheel, can establish a sense of harmony and cohesion.

Using Color in Photography Composition

  1. Complementary Colors: Complementary colors can make your subject pop, making the viewer’s eye immediately drawn to it. The stark contrast created by these color pairings can add a dramatic effect to your photographs.
  2. Analogous Colors: Using analogous colors can create a sense of harmony and consistency. These colors work well together and create a calming, peaceful effect. They are excellent for capturing serene landscapes, quiet street scenes, or intimate portraits.
  3. Monochrome: A monochrome color palette doesn’t mean just black and white. It involves using different shades, tints, and tones of a single color. This approach can produce a striking, impactful image by playing with light and shadows.
  4. Color and Mood: Colors can evoke a specific mood. Warm colors (red, orange, yellow) typically stir up feelings of warmth and comfort, while cool colors (blue, green, purple) elicit feelings of calm and relaxation. Use color to enhance the atmosphere or emotion you want to convey in your photograph.
  5. Color as a Leading Line: Color can be used as a leading line to guide the viewer’s eye towards your subject or a specific area in your image. Bright, saturated colors tend to draw attention, so use them strategically.
  6. Color for Depth and Dimension: You can use color to add depth and dimension to your photos. Warm colors appear closer to the viewer, while cool colors seem to recede into the background.

Understanding Color Balance and Post-Processing

In digital photography, understanding color balance is crucial. Cameras interpret colors differently than the human eye, so adjusting the color balance, usually through White Balance settings, can significantly influence the overall mood of your photograph.

In post-processing, tools like Photoshop or Lightroom can help correct color balance, adjust saturation and vibrancy, or apply color grading to further emphasize the mood or narrative you want to express.

Final Thoughts

In the world of photography composition, color is a powerful tool waiting to be fully exploited. Mastering the use of color takes practice and experience, but once you grasp its potential, your photos will never be the same. So, the next time you’re framing a shot, consider not just the subjects and shapes, but the colors and the story they can tell. After all, every hue in your palette is another word in your photographic vocabulary.

Diagonal Leading Lines in Photography

Of all the lines used in photography, diagonals are the most dynamic. You can use them to create a strong impression of movement or you can use them to create a tremendous sense of depth. All images are created with lines—some vertical, horizontal and others converging—but knowing how to place them affects the mood and composition of the final image.

A sense of order is created with vertical and horizontal lines, implying stability and strength. Diagonals are unbalanced and appear to be unstable. What they communicate is dynamic, yet precarious. They always appear to be falling over or not quite secure. This is what lends itself to a dramatic image.

The easiest way to create diagonals is simply by tilting your camera. Slanted views of horizontals and verticals and can easily be created by the photographer. I find that a bit of tilt to my camera adds a little slant to the image and creates a perfect diagonal line.

Try capturing a simple image like a car or skyscraper by tilting the camera forty five degrees and see the effect you create. What happens to the image? The car looks as if it is going fast while skyscraper appears to be reaching for the sky. This effect is created simply by simply turning your camera

When shooting from high up from a bird’s eye view, you can really create some stunning images. Look for lines then tilt the camera. The bird’s eye vantage allows you great leeway, as there is no right way, no up or down; everything is two dimensional. Experiment with patterns and color, and you will arrive at some dramatic compositions.

Don’t be afraid to use crazy angles and change your viewpoint when shooting with diagonals. They will help give you a sense of depth and perspective. They tend to lead the eye to whatever focal point you decide, to a place where they end or disappear into nothing. Diagonals encourage the eye of the viewer to follow, almost like the Judas goat at the abattoir that leads the livestock to the slaughter. A set of footprints, a curved hedge, or river can be used to guide the viewers to the point of focus. But you must lead them to something that has a strong interest otherwise the viewer is left feeling that the image is incomplete.

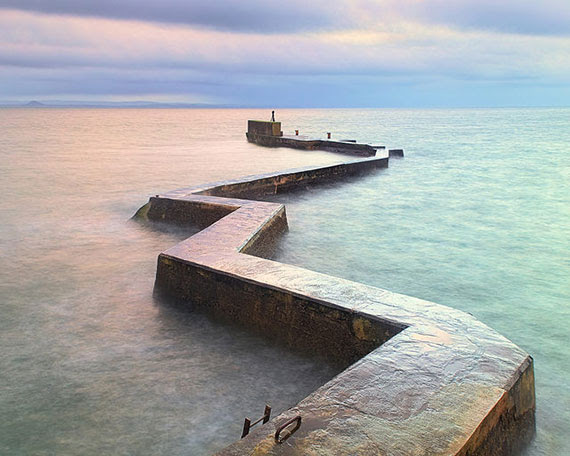
Then there is the zigzag effect when using diagonals in patterns. The repeated pattern can also be used to drag the eye into the image over a larger area of the frame. These patterns are dynamic and, when used with horizontals and verticals, become even more dramatic.


I have always chosen diagonals as my favorite lines because they are so dynamic and add something to my images. Bottom line though, as you learn digital photography, you need to experiment and practice what you learn in order to master it. Happy shooting!

About the Author:
Wayne Turner has been teaching photography for 25 years and has written three books on photography. He has produced 21 Steps to Perfect Photos; a program of learner-based training using outcomes based education.

Rain, Reflections, and the City: Urban Photography on Wet Days

Often seen as an inconvenience, rainy days can in fact be a goldmine for photography enthusiasts, particularly those who love to capture urban landscapes. With the right techniques, what could be a gloomy, wet day transforms into a playground of vibrant reflections, textures, and strikingly beautiful scenes. Here are some essential tips to make the most of your rainy day urban photography:

1. Gear Up

First and foremost, protecting your camera gear is a priority. There are many weather-sealed camera bodies and lenses available on the market, but if you don’t own one, don’t worry. A rain cover for your camera will do just fine and is usually quite affordable. For a makeshift solution, even a plastic bag can be useful, provided you handle your equipment carefully. Don’t forget an umbrella or a waterproof jacket to keep yourself dry and comfortable.

2. Embrace Reflections

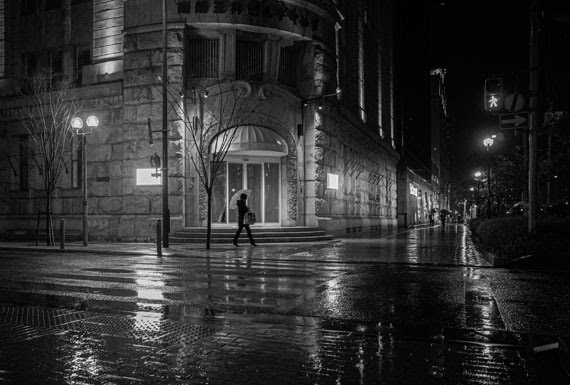
One of the most spectacular things about photography on a rainy day is the appearance of reflections. Wet surfaces, puddles, and glass panes become mirrors reflecting the city’s life in a different perspective. Reflections can bring a surreal and artistic touch to your photos. Look for those perfect puddles and use them to create a dramatic impact by including city structures, lights, and even pedestrians.

3. Look for Details

Rain transforms the ordinary into the extraordinary. Raindrops on a railing, wet footprints on the pavement, beads of water on a café window – these details may seem mundane but can add depth to your photography. Focusing on these minute details can give your viewers a fresh perspective on the familiar urban environment.

4. Play With Light

Rainy days might seem dark and gloomy, but they are filled with unique lighting opportunities. The overcast sky acts as a giant diffuser, providing a soft, even light that’s perfect for capturing the city’s character. The vibrant city lights become even more pronounced in the rain, especially at dusk or night. The contrasting lights and the dark environment create high drama and ambiance in your images.

5. Capture Movement

The hustle-bustle of the city is amplified on rainy days. People dashing with umbrellas, vehicles splashing water, raindrops trickling down window panes – these movements can add a dynamic touch to your photos. Using a slow shutter speed will let you play around with motion blur, conveying a sense of speed and urgency that aligns with the mood of a rainy day.

6. Experiment with Black and White

Black and white photography and rainy days make for a potent combination. It brings out the mood, contrasts, and textures in a more pronounced manner. Particularly in an urban setting, black and white can amplify the timeless character of the cityscape, making your photographs dramatic and intense.

7. Post-Processing

Finally, don’t forget the power of post-processing. You can enhance the moodiness of your rainy day pictures by adjusting the contrast, sharpness, and saturation. Experimenting with various filters can also highlight the different elements you’ve captured.

Rainy days offer a unique canvas for your urban photography. While the rest retreat indoors, it’s your chance to step out and explore the city from a refreshed and renewed perspective. Happy shooting!

Tips for Using Patterns in Photography

Patterns are basically just repeated shapes, objects or colors either ordered in precise formations or just random designs scattered across a scene. The important thing about patterns is that they create images that are very pleasing to the eye and add a new dimension to your photos.

Patterns can be found everywhere in our world, from natural forms to our urban and industrial environments. Use them effectively in an image and you’ll create a photo that is dynamic and attracts the eye to the main subject or focal point. It will help you learn digital photography in interesting ways.

There are two ways to look at patterns. Take a bird’s eye view and look down on say a car park where you’ll see predictable rows of vehicles. Then the other way is to get in closer and look for not so obvious patterns like tire treads and grill patterns. If you really want to be successful in shooting a pattern make sure that you fill the whole frame so that the pattern extends form edge to edge.

So what are the most effective ways to use patterns in your photography? Here are a few ways.

1. Regular patterns

These are easily identifiable and make really outstanding images especially when there is a lot of color involved. Rows and rows of soldiers in red jackets make up a really great pattern formation. Be sure to try different angles and viewpoints to get more interesting shots. Regular patterns are made up of ordered rows of geometric designs or other objects of the same shape and size. Office blocks made up of rows of windows, rows of trees in an orchard or even a honeycomb.

2. Irregular patterns

These form an interesting image just by the irregular nature of the pattern. Objects that are randomly placed in a scene but fairly close together still reveal a sense of repetition. For example, a sky full of parachutists with colored parachutes above them or the leaves on a tree or even a forest floor with a carpet of leaves or acorns. None of these have regular patterns but they are still identified as patterns. Again by filling the frame edge to edge you will emphasize the actual pattern and contain it with great effect.

3. Multiple patterns

This is an interesting one and you’ll often see it in a wall of say an ancient building where different additions have been made. The regular pattern goes in one direction and changes as a new addition of bricks or tiles has been added hundreds of years later.

Brick paving leading up to a tiled wall will reveal a contrast between two types of patterns. Sometimes you’ll see this with the old and new as in a stone wall with a corrugated metal structure behind it.

4. Breaking the pattern

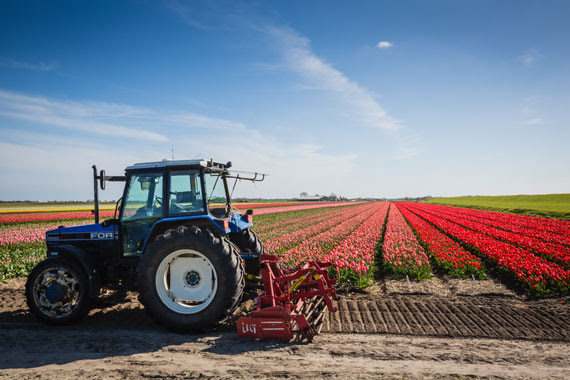
Picture this. A tray of thirty eggs all uniform in color and size with just one egg that has been broken revealing the bright yellow yolk. The uniformity of pattern is interrupted by the single broken egg. This doesn’t weaken the patterned effect as you would think but strengthens the overall image quite dramatically. These are created pattern breaks, but, by looking for them occurring natural is the challenge. For example, the field of red tulips in a Dutch field with just one yellow flower growing in the middle, or, a row of cars at factory storage facility with one color breaking the pattern. A fun experiment is creating your own pattern breaks with shells on the beach or acorns in a forest. You don’t have to have an object that is different to the rest. I shot a great image of a tiny shoot of a baby pine tree pushing its way through a carpet of brown pine needles. The green shoot contrasted against the brown needles and made an outstanding image.

As you learn digital photography, the idea of using patterns creates an opportunity for seeing with your photographic eye. Look for patterns within patterns as with the car park I mentioned earlier. Taking the time to see is vital when trying to create a great image. You will often find that in getting closer and looking for detail you’ll often spot a unique pattern opportunity.