Cityscape Photography Tips
Cityscape photography, often viewed as the urban cousin of landscape photography, captures the man-made wonder of our urban environments. Whether you’re aiming to capture the grandeur of towering skyscrapers, the dance of city lights, or the daily buzz of urban life, the right techniques and tools can make a world of difference.
Understanding Cityscape Photography
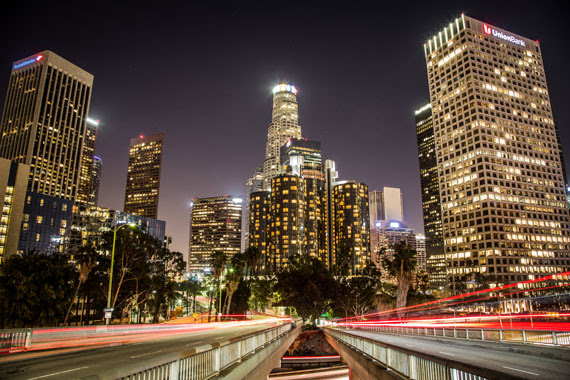
At its core, cityscape photography encapsulates the beauty, architecture, and vibrancy of urban landscapes. From the neoclassical edifices of Europe to the cutting-edge skyscrapers of Asia, cityscapes tell stories of progress, history, and human ambition.
Essential Equipment for Cityscape Photography
Lenses:
- Wide-angle lens (10-24mm): Ideal for capturing sweeping vistas of urban jungles.
- Telephoto lens (70-200mm): Perfect for zooming in on intricate architectural details or isolating subjects against a vast city backdrop.
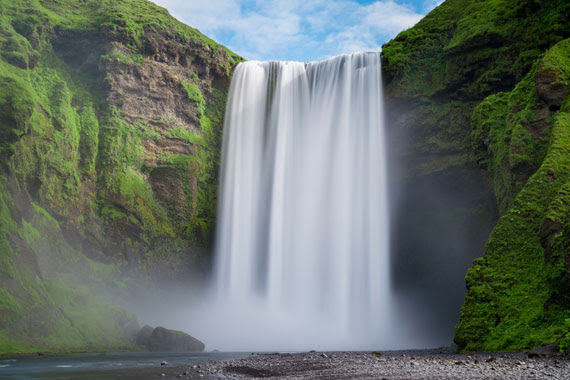
Tripod: A sturdy tripod is invaluable. For shots with long exposures, like capturing the streaks of cars or the gentle flow of water, a tripod ensures your camera stays still and your images are crisp.
Helpful Filters:
- Polarizer: Helps to reduce reflections, particularly useful for buildings with glass facades.
- Neutral Density (ND) filter: Essential for achieving long exposure effects during bright daylight.
Optimal Camera Settings for Cityscapes
- Mode: Opt for Manual (M) if you’re familiar with settings or Aperture Priority (Av/A) if you’d like the camera to determine the shutter speed.
- Aperture: A range of f/8 to f/16 offers a good depth of field, ensuring both foreground and background elements are in focus.
- Shutter Speed: This will vary based on your desired effect. For capturing light trails, you’ll need longer exposures. To freeze the bustle of the city, opt for faster speeds.
- ISO: To keep images noise-free, aim for ISO 100-400. Only increase the ISO in situations where light is limited and using a tripod isn’t feasible.
Timing is Everything
- Blue Hour: This magical time, either before sunrise or after sunset, provides a serene blue tint to the sky, making city lights truly pop.
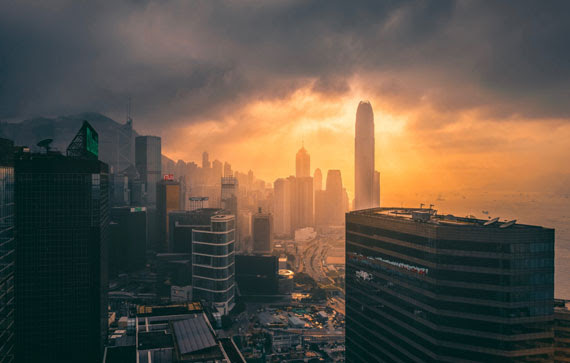
- Golden Hour: Occurring shortly after sunrise or just before sunset, this time bathes the city in a warm and soft light, perfect for capturing the city’s glow.
- Night: As cities come alive with lights, shooting at night can showcase the city’s vibrant nocturnal personality.
Pro Tips for Exceptional Cityscapes
- Bracketing: This involves taking several shots of the same scene at different exposures. Later, these can be blended in post-processing to achieve a balanced and detailed image, also known as High Dynamic Range (HDR) imaging.
- Focusing in Low Light: When the camera struggles to autofocus in dim settings, switch to manual focus. Using the Live View mode, zoom in on a well-defined part (like a building’s edge) and adjust the focus manually.
- Depth of Field: If your scene includes a prominent foreground element, like a statue or fountain, consider focus stacking. This technique involves taking multiple shots with different focus points and merging them in post-production to achieve an image that’s sharp from front to back.
Cityscape photography, like all art forms, thrives on experimentation. While these guidelines provide a solid starting point, the true essence and vibe of a city can best be captured when photographers bring their unique perspective and creativity into play. So, head out, explore the urban wilderness, and most importantly, enjoy the process of immortalizing cityscapes. Happy shooting!

