Camera RAW Photo Editing Tip
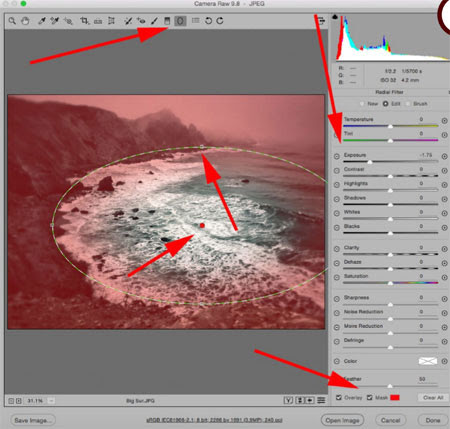
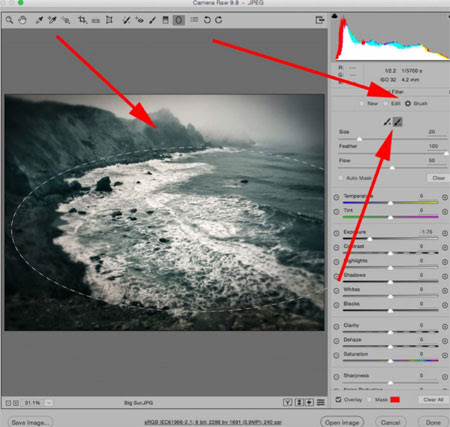
| When asked, most photographers out there will insist that shooting RAW is the way to go. For image makers looking to avoid the destructive potential of a compressed and automatically “enhanced” JPEG, there’s no question concerning which format reigns supreme. It’s easy to think of a RAW file as a digital negative – regardless of the changes you apply in post production, the original image will remain accessible. That’s not to say that the RAW file is perfect. Unfortunately, there isn’t a standard in place for the file format that’s been adopted by the major camera companies. Though .NEF and .CR2 files are both RAW file formats, they record the uncompressed, unprocessed information of an image file differently. This consequently leads to difficulty translating RAW files into certain software. For this reason, the Adobe Camera RAW plug-in is a godsend. Capable of processing any RAW file, it comes preinstalled with the purchase of programs such as Photoshop and After Effects. As most people know, the program allows users to make basic adjustments to image qualities such as clarity, tonality, and color. What many people do not realize is that it’s possible to apply quick masks in Camera RAW. All it takes is a little bit of work with the Adjustment Brush (K). |

| When you have the Adjustment Brush options open, use the sliders to lock in the changes you’d like to make. Then, scroll down to the brush options to determine options such as the size and feathering (radial sharpness) of the brush. Once you’ve made those decisions, just “paint” in the areas you would like the mask to be applied. You may want to check the Auto Mask box at the bottom of the control panel, which can detect major shapes and elements within a photograph to create a more precise mask. |

