Creating Depth of Field in your photos

One the most fundamental techniques necessary to really to master creative photography is depth of field. It was always a bit of a mystery to me because of the link to aperture and understanding all those back to front f-numbers. I think it was more of a mental block, though, because it’s actually quite easy to grasp.

Creatively you are able to do more with your photography and as you learn digital photography you will find using depth of field key to great images. You can use it to blur out backgrounds while the subject remains pin sharp or to create an image perfectly in focus from front to back, as in great landscape photos.

1. What is depth of field?

It’s quite simple. It’s the amount of a scene that is in focus in front of your point of focus or behind it. Depth of field is more simply understood as depth of focus: how much of the image is in focus. A lens can only focus at one point which is the sharpest, most in focus point in the photo. But what you can do by using depth of field is to control the perceived zone of focus. This will differ when shooting different subjects or scenes.

Now, there are three main factors that affect depth of field. Firstly, the aperture you are using, secondly the focal length of the lens, and thirdly the focusing distance. All of these will impact the depth of field. Each of these will affect depth of field, so in order to control it effectively it’s necessary to master each one of them.

2. Focal length

When shooting an image using a 28mm wide angle lens at, say, f/5.6 you will see a much greater depth of field as compared to a 400mm at the same aperture. When using different lenses understand what the impact will be so that you can creatively use the resulting depth of field.

3. Aperture

On a lens you have possible apertures ranging from f/1.2 all the way up to f/32, and each of these lens openings will have an effect on depth of field. If shooting on the extremes, like f/32, you’ll find that it results in quite a considerable difference than when you shoot at f/2.8. Then when shooting using the mid-range numbers the depth of field will again be different. An aperture of f/2.8 will have a very shallow depth of field while f/32 will show sharp focus throughout the whole image.

4. Focusing distance

How far you are to the point of focus is another factor to consider. When using any lens, the depth of field will increase the further the focusing distance. If you focus on an object three meters away, and if you focus on something 300 meters in the distance, the depth of field will be greater. So in other words, when the subject is far away from the camera there will be a greater depth of field and more of the image will be in focus.

5. When to use depth of field

Most of us have taken landscape images where most of the scene is in focus. This is true when you’re shooting scenes of fields and trees and boats on the sea. The way in which this is achieved is by setting your aperture to a higher number, e.g. f/11 and above, which means a smaller aperture opening. Virtually the whole scene from foreground to background is in focus. But this changes when choosing a wider aperture opening or a small f-number on the lens. Here you would only use this setting to shoot something you want to isolate such as a face in a portrait. The background gets blurred out and the face is in crisp focus. You would also use this when shooting close-ups of flowers or animals in a zoo where you don’t want to see the background or the bars or fence in the foreground.

So, as you can see, depth of field is really quite simple. Blurred out backgrounds use a large aperture and landscapes that need to be in focus from foreground all the way through to the background use a small aperture. The key as you learn digital photography is to experiment with all settings and then practice, practice, practice!

The Relationship Between Color and Light in Photography

Understanding the relationship between color and light is fundamental to mastering photography. Light is the medium through which we perceive color, and the interplay between the two can dramatically affect the mood, tone, and composition of a photograph. In this post, we’ll delve into the science behind color and light, how they interact, and how photographers can harness this relationship to create stunning images.

The Science of Color and Light

At its core, color is the result of light interacting with objects and our eyes. Light is composed of electromagnetic waves, which vary in wavelength. When light strikes an object, it can be absorbed, reflected, or transmitted. The specific wavelengths that are reflected determine the color we perceive. For instance, an apple appears red because it reflects red wavelengths and absorbs others.

White light, like sunlight, contains all visible wavelengths. When it passes through a prism or raindrop, it disperses into a spectrum of colors, revealing the full range of visible light from red to violet. This phenomenon is known as dispersion and is a key concept in understanding color.

Color Temperature and Photography

Color temperature refers to the hue of light emitted by a light source and is measured in Kelvin (K). Different light sources have different color temperatures, which can dramatically alter the appearance of a photograph.

  • Warm light (around 2000K-3000K) appears more orange or yellow and is typical of sunrise, sunset, and tungsten bulbs.
  • Cool light (above 5000K) appears more blue and is common in midday sunlight and overcast conditions.
    Photographers use color temperature to set the white balance in their cameras, ensuring that colors appear natural and consistent regardless of the lighting conditions.

The Role of Light in Photography

Light is the essence of photography. The word “photography” itself means “drawing with light.” Here are a few ways light influences photography:

  • Exposure: The amount of light that reaches the camera sensor determines the exposure of an image. Proper exposure ensures that details are visible in both the highlights and shadows.
  • Contrast: Light creates contrast by casting shadows and highlights, adding depth and dimension to a photograph.
  • Mood: The quality and direction of light can set the mood of a photograph. Soft, diffused light creates a gentle, flattering effect, while harsh, direct light can evoke drama and intensity.
  • Color Casts: Different light sources can introduce color casts to a photo. For example, fluorescent lighting can produce a greenish tint, while incandescent lighting can add a warm, orange hue.

Using Color and Light Creatively

Photographers can manipulate color and light to enhance their images and convey specific emotions or messages. Here are a few techniques:

  • Golden Hour: The period shortly after sunrise and before sunset, known as the golden hour, provides soft, warm light that is ideal for capturing portraits and landscapes.
  • Blue Hour: The time just before sunrise and after sunset, called the blue hour, offers cool, twilight hues that can create a serene and mystical atmosphere.
  • Color Filters: Using color filters or gels can alter the color balance of a scene, adding creative effects or correcting unwanted color casts.
  • Artificial Lighting: Studio lights, flash, and continuous lighting allow photographers to control the intensity, direction, and color of light, providing endless creative possibilities.

Summary:

The relationship between color and light is a cornerstone of photography. By understanding how light affects color and how different lighting conditions can alter the appearance of a photograph, photographers can make informed decisions about exposure, composition, and mood. Whether you’re shooting in natural light or a controlled studio environment, mastering the interplay of color and light will elevate your photography to new heights.

How to Fit Photography Practice into a Busy Schedule

In the hustle and bustle of modern life, finding time for hobbies and personal interests like photography can be a challenge. However, with a bit of creativity and planning, it’s possible to carve out time for your passion. Here are some effective strategies to incorporate photography into your busy schedule.

1. Carry Your Camera Everywhere

The best way to ensure you get more photography done is by having your camera accessible at all times. Whether it’s a DSLR, a compact camera, or just your smartphone, having your camera handy means you can capture those unexpected moments of beauty or interest in the midst of your daily routines.

2. Make it a Daily Ritual

Set a daily goal, even if it’s just taking one photo a day. This could be during your morning walk, on your commute to work, or even during lunch. The key is consistency. Over time, this daily habit not only improves your skills but also helps you see the world through a more artistic lens.

3. Utilize Your Lunch Break

Instead of spending your lunch break scrolling through social media, grab your camera and go for a walk nearby. Even a short, focused photography session can be refreshing and creatively fulfilling. This also helps you to explore and photograph your local area more extensively.

4. Join a Photography Group

Participating in a photography group can motivate you to practice more regularly. These groups often organize weekly or monthly meet-ups and challenges, which can be a great way to schedule your photography practice. Moreover, being part of a community provides you with immediate feedback and tips to improve your skills.

5. Attend Workshops or Classes

Enrolling in a photography class or workshop can force you to dedicate specific times to your photography. It also adds the benefit of learning from professionals and networking with fellow photography enthusiasts. This structured approach can be particularly effective if you find self-directed practice challenging.

6. Plan Photography Trips

Occasionally, plan for longer photography sessions during weekends or on days off. A half-day or full-day trip dedicated to photography can significantly boost your skills, allowing you to experiment with different techniques and subjects that you don’t usually encounter during your daily routine.

7. Set Project Goals

Create a personal project with clear objectives and timelines. This could be a 365-day photo challenge, a thematic portfolio, or a documentary project. Having a specific goal helps to maintain focus and gives your practice purpose, making it easier to justify and set aside time regularly.

8. Combine Activities

Combine photography with other activities that you do for relaxation or exercise. For example, if you enjoy hiking, bring your camera along to capture landscapes. If urban exploration is your thing, a camera can accompany you on city walks. This way, photography complements your lifestyle rather than competes with it.

9. Use Technology to Your Advantage

Utilize apps and tools that can help streamline your photography practice. Apps like Lightroom Mobile allow you to edit photos on the go, and various online platforms provide tutorials that you can watch during downtime.

10. Reflect and Adjust

Regularly reflect on how well your current schedule is integrating photography. If you find certain strategies aren’t working, adjust them. Flexibility is key to maintaining any hobby alongside a busy life.

Incorporating photography into a packed schedule requires intentional planning, but the rewards are well worth the effort. As you progress, you’ll not only improve your photographic skills but also find that photography enriches your daily experiences, providing a creative outlet that nurtures your overall well-being.

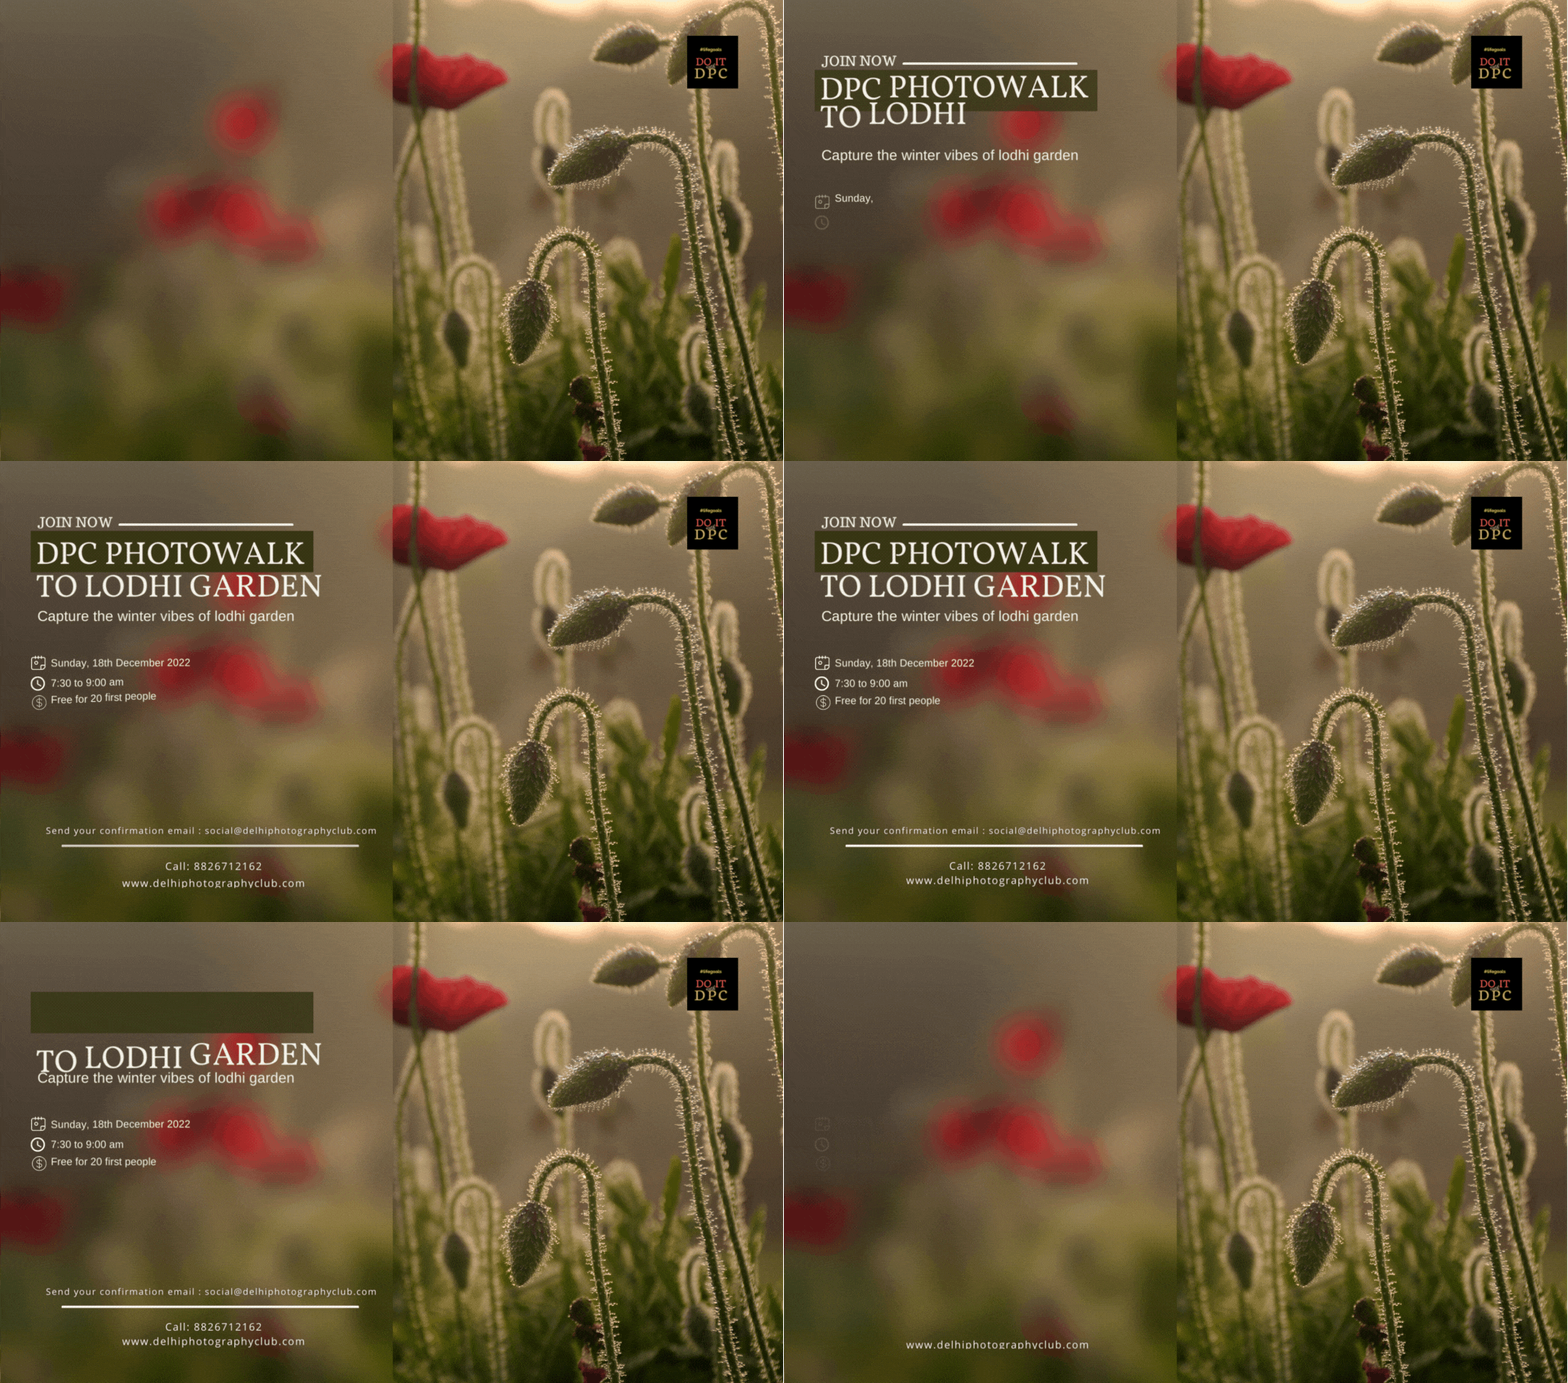
DPC Heritage Photowalk to Lodhi Garden

Join DPC Photowalk to Lodhi Garden

During this Photowalk, Lodhi garden offers beautiful colors of flowers and Nature.
Enjoy the amazing Winter Vibes & blue sky of Delhi this Dec

DPC Photo Walk Details:
Date-18th December 2022
Time- 7:30 to 9:00 am
Open for all Photo enthusiast 

How to Reach
By Metro: Nearest station – Jor Bagh
Auto/Cab: please reach at Ashoka Gate No-1 Lodhi Garden

Lodhi Garden : 
During British Raj, it was landscaped by Lady Willingdon, wife of Governor-General of India, Marquess of Willingdon, and hence named the ‘Lady Willingdon Park’ upon its inauguration on April 9, 1936, and 1947, after Independence, it was given its present name, Lodi Gardens.
As there is little architecture from these two periods remaining in India, Lodi Gardens is an important place of preservation. The tomb of Mohammed Shah is visible from the road and is the earliest structure in the gardens. The architecture is characterized by the octagonal chamber, with stone chhajjas on the roof and guldastas on the corners.

The tomb of Mohammed Shah, the last of the Sayyid dynasty rulers, the earliest of the tombs in the garden, was built in 1444 by Ala-ud-din Alam Shah as a tribute to Mohammed Shah.
After the 15th century Sayyid and Lodi dynasties, two villages grew around the monuments, but the villagers were relocated in 1936 in order to create the gardens.
Another tomb within the gardens is that of Sikander Lodi, which is similar to Mohammed Shah’s tomb, though without the chhatris, it was built by his son Ibrahim Lodi in 1517, the last Sultan of Delhi from Lodi dynasty, as he was defeated by Babur.
It is a simple rectangular structure on a high platform approached by a flight of steps. The tomb was renovated by the British, and an inscription mentioning Ibrahim Lodi’s defeat at the hands of Babur and the renovation was included in 1866.

Please Note 
o    Free for first 20 People
o    For registration send your Confirmation Mail – social@delhiphotographyclub.com
o    If you register and confirm that you will be attending and do not turn up, you have denied someone as enthusiastic as you a chance of the walk. Therefore, please register and confirm only if you are reasonably certain to make it on the day 

About Delhi Photography Club

Delhi Photography Club was set up with the intent of taking photography homes. The purpose of the DPC is to stimulate, enable, and nurture a fraternity of photography enthusiasts for mutual benefit.
As a club, we have brought together businessmen, diplomats, doctors, lawyers, homemakers, students and children and helped them in their creative expression using a camera.

Send Your Confirmation Email: social@delhiphotographyclub.com
For More info:
Call- 8826712162, 956081001.
Email- hi@delhiphotographyclub.com

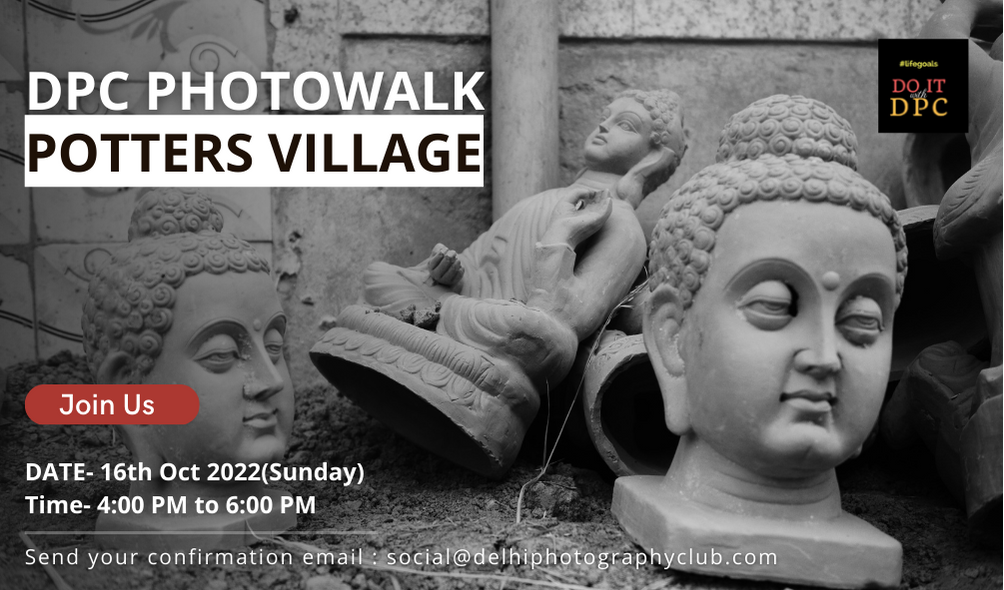
DPC Heritage Photowalk to Potters Village

Join DPC Heritage Photowalk to Potters VillageDate- 16th Oct 2022
Time- 4:00 PM to 6:00 PM The potters of this village rely solely on their craft for their livelihood. You can appreciate the sharp contrast between the urban and rural parts of Delhi. Observe the daily activities and rituals of the locals. Our guide will also help you to strike a conversation with the potter community. Try your hand at the potter’s wheel. Kids playing some traditional Indian games in narrow streets make for a good camera-shot. And don’t forget to take back some memories, they have a small souvenir shop as well. Cultural interaction with the potters
Observing different types of pottery processes
Traditional Indian pottery
Of course, you can buy

How to Reach
Nearest metro station is Uttam Nagar East

Note:

We accept 20 people for the walk (to better manage the logistics and have a small group for the walk leader). 2 days prior to the walk you will get a mail containing all the details of the walk.

Send Confirmation mail
social@delhiphotographyclub.com

For More info
Call- 8826712162