5 Photography Tips for Viewers to Connect With Your Photos
One of the best photography tips I can share is to think less about the technical aspects and more about the impact your photo has on the people who view it. While it’s important to understand the elements of exposure, those techniques won’t guarantee an emotional connection with your subject. Here are five ways to help you capture the moment that connects with your viewers.
1. Patience
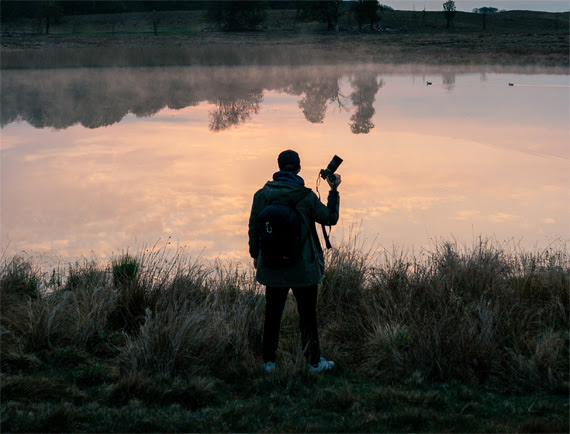
What makes a photograph art instead of a snapshot? Patience! Just because you want a photograph right now doesn’t mean the subject is ready for your right now. You may have to wait for a sunrise or sunset. You may have to wait for a bird to land on a post in the water. You may have to wait for the perfect wave to crash. Maybe—just maybe—you have to wait for all of these elements to coincide to get a shot that no other photographer will get because they weren’t patient enough to let things happen. Maybe they weren’t patient enough to see what happened next. The world will unfold on its own schedule, so pick a good spot, be patient, and be ready to capture the moment.
2. Timing
Some photographers enjoy shooting rapid-fire to get an action shot—spray and pray—and hope they have something good when the action is over. That isn’t control, though. It’s trusting your fate to luck.
It doesn’t matter if you’re shooting wildlife, sports, or a model in a studio. There’s a concept known as the peak of action, and that’s the shot you want to capture. You may get it with spray and pray, or you may not. Rather than firing off a blast of shots, think about your subject. Put yourself in the subject’s position. Look for patterns, rhythms, or any clues that will help you predict when and where your subject will be at the optimum moment to capture the peak of action.
A big part of timing is knowing your subject. You need to know the optimum time for that subject to arrive in just the right place.

3. Intimacy
Your photos need to show a connection. Sometimes that means creating a connection between the subject and the view. In other cases, it means showing a connection with your subject and something important. That connection could be between people, such as a husband and wife or a mother and child. The connection could also be with a pet or a possession.
Imagine a body builder working with weights. You see that she’s strong. She’s intent. She’s focused. The story is about her, but the weights show a relationship that helps define her as the subject. She has a relationship with the weights she’s lifting. She needs them in order to be the woman she wants to be. Intimacy helps the viewer understand her story.
4. Light
Photographers know that light is both your enemy and your friend. Without it, there’s no photo. If you have too much light, there’s still no photo. That’s because an evenly lit photo is little more than a dull snapshot. Nothing stands out. Nothing is special because you see everything. There’s no mystery.
Shadows are crucial because they provide a sense of depth and dimension. Their sense of darkness give shape, form and a sense of importance to the part of the photo in the light.
There’s an old adage, “If you want to make something more interesting, don’t light all of it.”

5. Story
If you want to improve your photos, then they need to tell a story. A photo needs to say something to the viewer. It needs to draw them in and make them wonder. It needs to pique their interest. People look at images that are interesting. What makes them interesting? The photo communicates something to them.
Does your photo make you wonder about something in it?
Why is the girl in the water? Where is this relaxing scene? What is the surfer thinking before he enters the water? I wish I had her dedication. Why does this dangerous beast look so content?
There are stories for any emotion. If you can feel an emotion, then there’s a story to go with it. That’s what you need to capture and share with your viewers.