How to Use Bulb Mode on a Camera for innovation
There is a special setting on all DSLR and mirrorless cameras that allows the photographer to go beyond the longest automatic shutter speed setting of 30 seconds. In fact, this special setting allows infinitely longs exposures to be made. This is the Bulb setting, or Bulb exposure mode.
The shutter speed range on a DSLR camera finishes at 30 seconds. One click below that selection is Bulb, which allows the photographer to manually hold the shutter open for as long as is required as the shutter button is pressed down. The camera bulb exposure setting is only available in Manual mode.
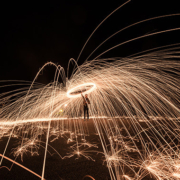
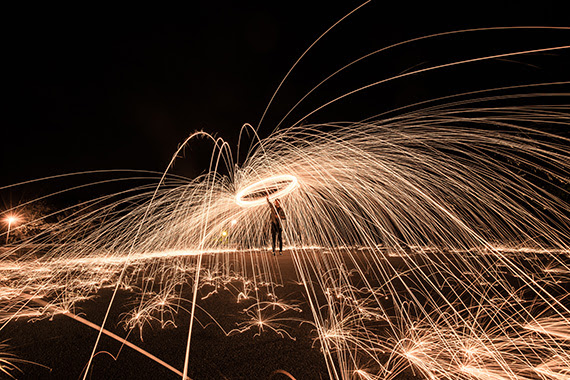
The Bulb mode is basically a creative feature. It allows shots to be taken that are minutes long, rather than seconds. A typical image to capture using this feature is one of star trails when the night sky is clear. Simply aim the camera to the north or south celestial pole, depending on which hemisphere you live.
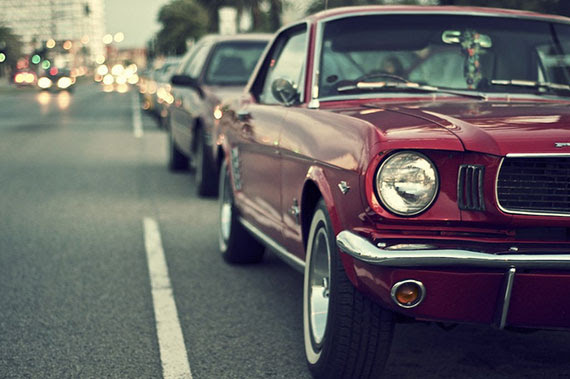
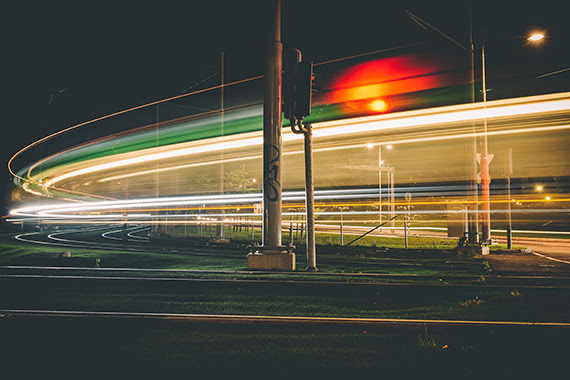
Another common image to capture is of the trails of vehicle lights when it is dark. These moving lights will create artistic streaks of white and red patterns emitted from the head lights and tail lights of passing traffic. If you are near a traffic junction you may capture orange streaks from indicator lights. And if you’re lucky enough, you may get a streak of blue from the flashing light of an emergency vehicle.
Here then are the three things you must do in order to shoot in Bulb mode, in other words, with the camera’s shutter open:
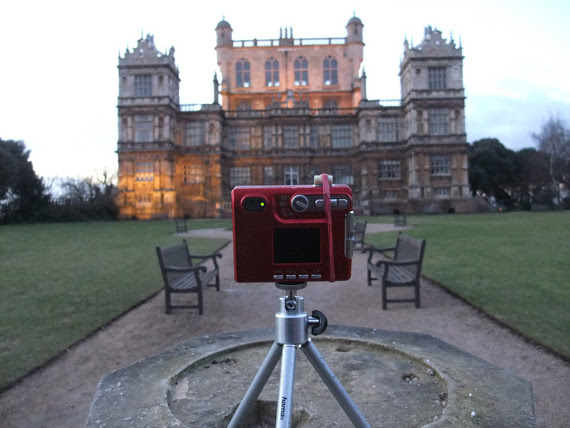
Use a Tripod: Attach the camera to a tripod in order to ensure that no camera movement will ruin the shot. You don’t have to use a tripod so long as the camera is on a solid base, like a wall. Turn off the any anti-shake mechanisms you may might have on your camera or on the lens.
Use a Remote Shutter Release: A remote shutter release will prevent vibrations ruining the shot as you press the shutter button. No matter how careful you are, you will always cause a tiny bit of vibration as you depress the shutter button. That doesn’t matter with fast shutter speeds, but in Bulb mode you will record vibrations, however small. If you don’t have a remote cable, use the camera’s built-in self-timer delay, which is just as effective. A two second delay will be adequate.
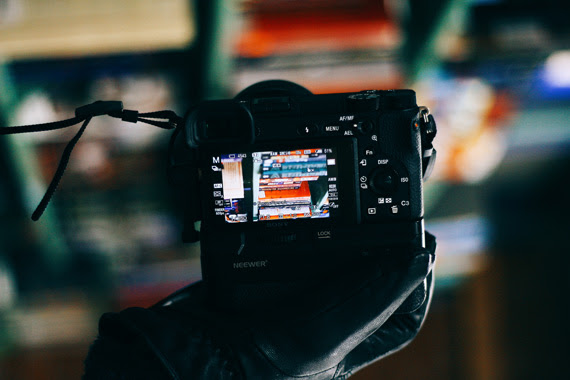
Switch to Manual Mode: While metering can be less straightforward with the Bulb exposure setting due to the extended exposure times, it’s still a useful guide for initial settings. Therefore, switch your camera to Manual mode to have full control over the exposure. Start by selecting an aperture that suits your scene; f/8 or f/11 are good starting points as they often provide a sharp image across a wide depth of field. Set your ISO to a low value like 100 or 200 to reduce sensor noise, which can be more pronounced in long exposures. Because Bulb mode exposures can vary greatly, it’s advisable to take several test shots to refine your settings. Adjust the aperture, ISO, and initial exposure time based on these tests until you achieve the desired effect for your final long-exposure image in Bulb mode.