Posts

Street Photography Tips at Night- upgrade your photos.

Taking pictures at night gives an image a completely different feel because it captures different stories of daily life—sometimes more dramatic than the ones captured during the day. There is also a whole new cast of characters at night that make taking pictures on the streets after dark an even more adventurous experience in street photography.
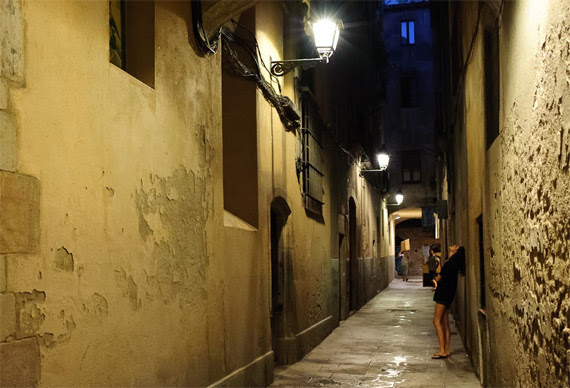
Just by decreasing the available light, we increase the element of mystery in the image. Don’t get me wrong, it could still be an average image. Just because it was taken at night the picture won’t magically become a great photograph, but it might become a little bit more interesting. It may make the viewer ask just a few more questions. And depending on where you are, it may even add an element of danger.

“You don’t have to go looking for pictures. The material is generous. You go out and the pictures are staring at you.” –Lee Friedlander
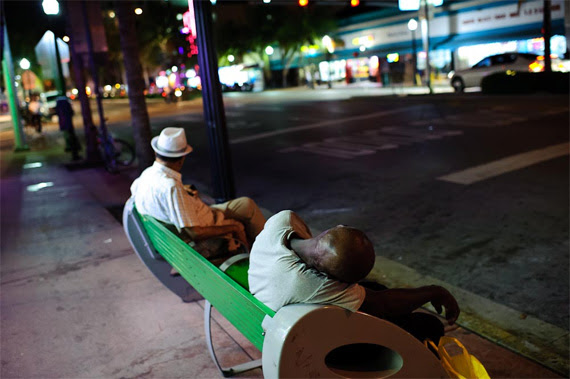
Here are a few tips for taking street photos at night:

1. Don’t use flash

I think this is key for several reasons. First, the ugly artificial light that results from the flash is just too harsh and unnatural. It also calls way too much attention to the photographer, and the idea in street photography is to blend in, not stand out like a lighthouse. Also, people expect the flash to go off after you take a picture at night; when they don’t see the bright light coming from the camera that was pointed at them, they think that you didn’t take a photo and they probably won’t question you. I never use flash when I shoot at night (or day or ever, for that matter). It might take some practice but in a short time you won’t miss it.
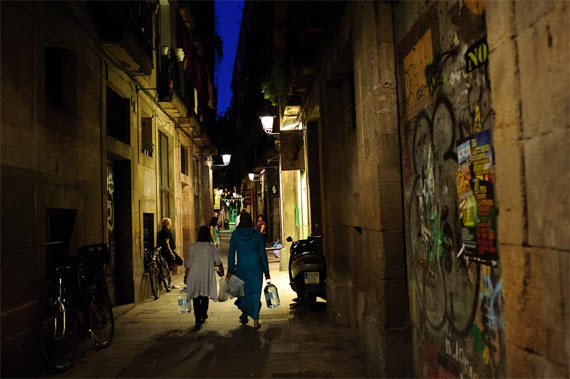
2. Increase the ISO

More than a suggestion, this is a necessity. Unless you increase the ISO, the shutter speed might become too slow and the whole picture will be way too blurry to even see what’s going on. As I wrote before, a little bit of motion blur is fantastic and makes for great street photography shots. But if the photo’s too blurry it loses the effect and is just confusing.

High ISO will also give the image some “noise” and it will look grainy, which is a great look for street photography. Make grain and blur your friends, not your enemies.

“New images surround us everywhere. They are invisible only because of sterile routine convention and fear.” –Lisette Model

3. Use available light to your advantage

Find a bright corner or a storefront window and position yourself in a way that it will light your subject’s face. Or maybe you want the light to their backs to make them silhouettes. Either way is fine, the choice is yours. It’s all a matter of moving around the light. Find what works and wait for an interesting subject to walk by. Try pointing the camera into the inside of storefronts or brightly lit buses; the light may be just enough to capture great scenes of people unaware that you are capturing the scene.
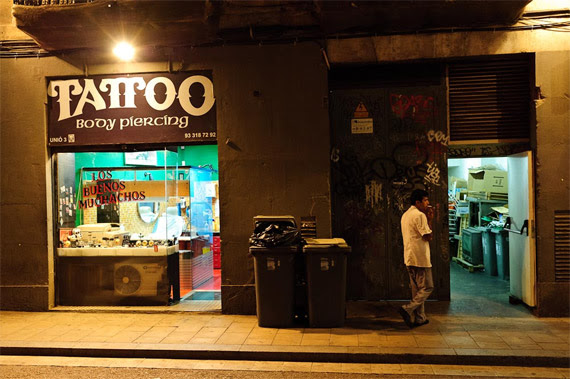
4. Use fast lenses

Fast lenses, with maximum apertures such as f/2.8 or f/1.4 are great for low light situations. The same thing applies to full frame cameras. Any lens or camera is fine but full frame cameras or fast lenses make things easier because they have a better sensitivity to light. Use what you have and practice and look at the results before you invest your paycheck in a more expensive camera or lens.

“Anything that excites me for any reason, I will photograph; not searching for unusual subject matter, but making the commonplace unusual” –Edward Weston

5. Avoid isolated areas

It’s not necessary to go to a dangerous area to get interesting pictures. Any crowded area will do, especially if you are just starting.
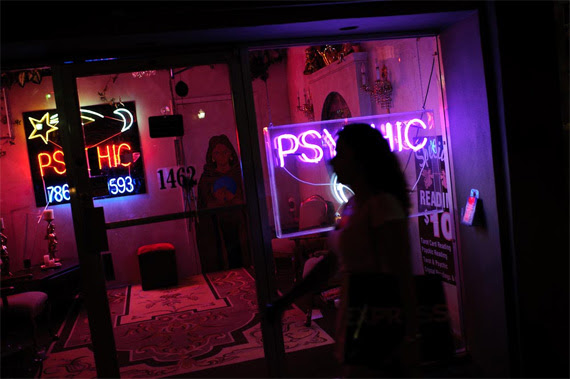
Taking pictures on the streets at night is not the usual thing to do, but if you want to give your street photography a little extra excitement consider going out for a walk after the sunlight has been replaced by street lamps.

What Lenses Work Best for Beautiful Background Blur?

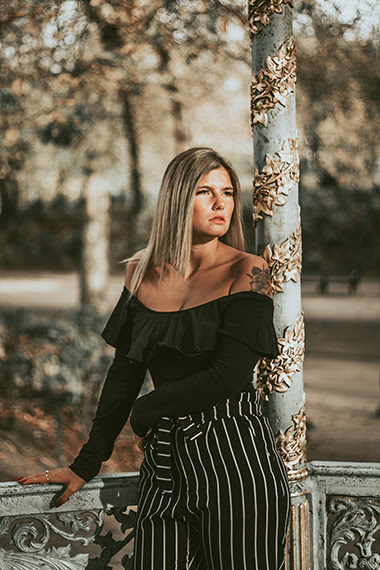
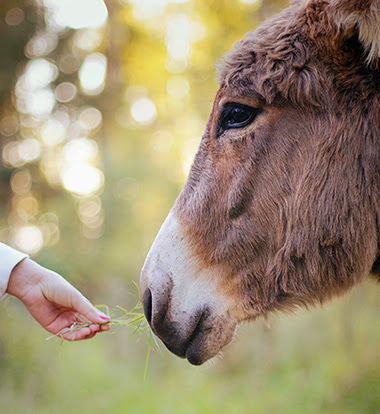
Here is a portrait that uses background blur to make the model pop from the background.

Background blur is an excellent composition tool to set your subject apart from their surrounding areas. It’s another way of saying “minimum depth of field”.

Newer photographers, with entry-level equipment, often find the idea of background blur difficult, because no matter what they do they cannot create the effect.

Blurring a background requires several elements of photography to be successful. First and foremost is the lens.

For that reason, in this article, we will concentrate on lens selection to create optimal background blur.

Quick Tip

Your first consideration when blurring a background is the focal length of the lens.

The longer the focal length, the more blur will be created at a given f-stop.

For example, at f/2.8, a 200mm lens will create more background blur than a 50mm lens.

Wide-angle lenses will not create a noticeable background blur effect at any f-stop.

Any lens wider than a “normal” field-of-view lens will create a negligible background blur, even when you have set the f-stop to the widest opening.

A normal field of view is between 50 and 55mm for a full-frame sensor and 28-34mm on a camera with an APS-c sensor.

A “normal” lens is one that closely mimics the field of vision for the human eye.

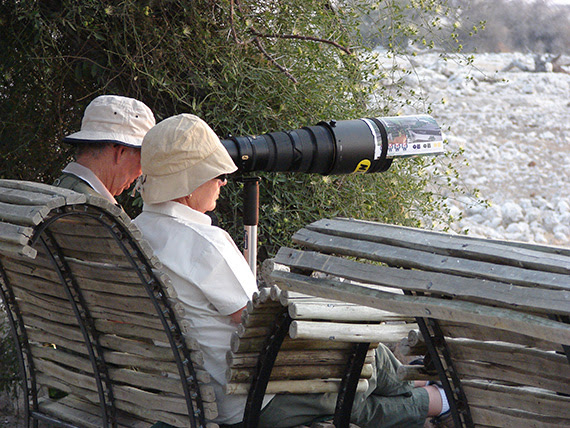
The lens in the image above is most definitely not a “normal” lens. A very long telephoto lens like this would create background blur even at smaller apertures!

What about the relationship between aperture and background blur?

The photographic term “fast lens” refers to the largest aperture available on the lens. A lens with a very wide maximum aperture is a faster lens than a similar lens with a smaller maximum aperture.

This fact of optics is why creating background blur with kit lenses is difficult to impossible. They generally have a smaller maximum aperture.

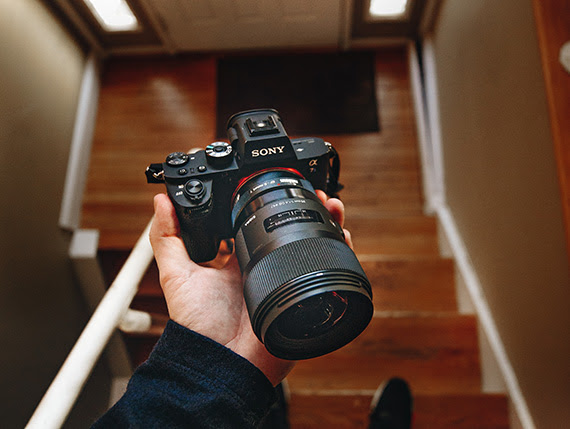
The lens above has a maximum aperture of f/1.4. This lens would be considered very fast, and it would be extremely efficient at creating background blur.

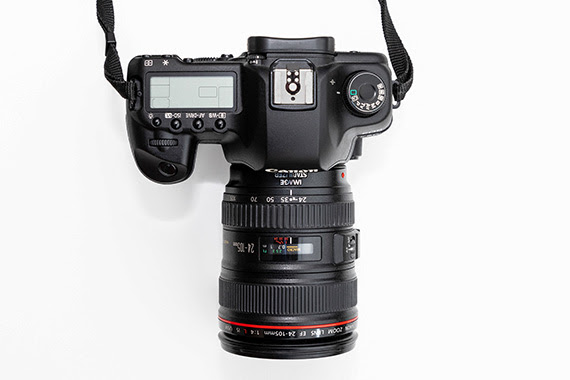
This Canon 24-105mm zoom lens has a maximum aperture of f/4. This lens is not as fast a lens as compared to the previous example, where the maximum aperture was f/1.4.

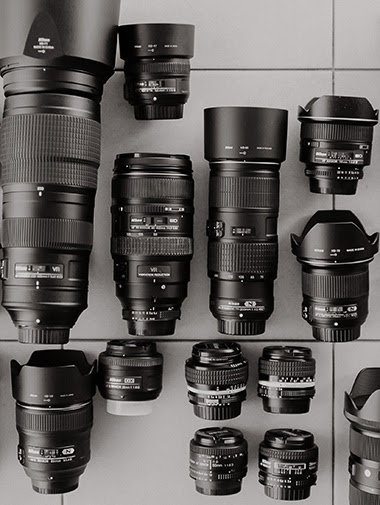
Some lenses display the aperture scale outside the lens (such as the Nikon 85mm).

Other lenses only display the aperture scale inside the viewfinder, such as Canon 24-105mm zoom lens.

Most lenses have variable apertures. The one exception is mirror lenses. They have a fixed aperture, usually around f/8.

Quick Tip

With a zoom lens (variable focal length), such as the Canon example, the lens will create more background blur at a longer focal length setting versus a shorter focal length setting.

For example, this Canon lens set at the maximum aperture of f/4 will create more background blur at the 105mm focal length setting versus the 24mm focal length setting (where it would create little to no background blur).

Conclusion: When selecting a lens for background blur…

  • A lens with a longer focal length works better than a shorter one.
  • A lens with a wider maximum aperture works better than a lens with a smaller one.
  • A “fast lens” is one that has a large maximum aperture (f/2.8 or larger).
  • Kit lenses, as a general rule, are not very fast and therefore do a poor job of creating background blur.
  • Wide-angle lenses are also a poor choice for creating background blur.
  • A lens focal length starting at a “normal” field of view (matching the human eye) and escalating toward longer focal lengths (telephoto) creates the best background blur.
  • When using a zoom lens (variable focal length), the longest focal length will create a better background blur than the shorter focal lengths at the maximum aperture.

Note: Some zoom lenses have a “variable” maximum aperture. You would want to consider this when choosing a focal length for background blur with a zoom lens.