Using Symmetry or Asymmetry in Photography Composition
Photography, at its core, is an art form that thrives on composition – the way elements are arranged in a frame. Two powerful tools in a photographer’s arsenal are symmetry and asymmetry. Mastering the use of these can dramatically alter the feel, balance, and appeal of a photo. In this blog post, we’ll explore how to effectively use symmetry and asymmetry to enhance your photography.
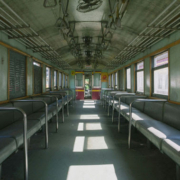
Understanding Symmetry in Photography
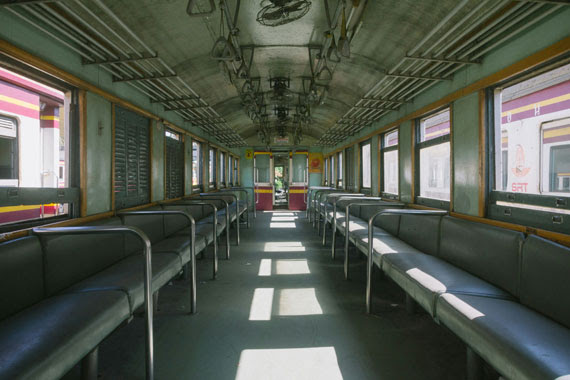
Symmetry is all about balance. When a photograph is symmetrical, it means that one side of the frame mirrors or closely resembles the other. This can be vertical symmetry (top to bottom), horizontal symmetry (left to right), or even radial symmetry (centered around a central point).
How to Use Symmetry:
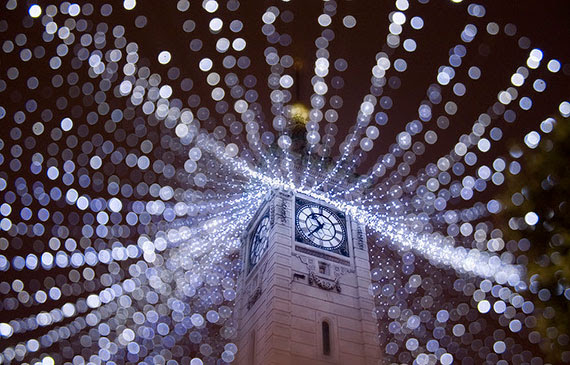
- Look for Natural Symmetry: Nature is full of symmetrical patterns. Reflections in water, the wings of a butterfly, or the structure of a leaf are all great examples.
- Architectural Symmetry: Buildings and urban landscapes often have symmetrical designs. Capturing the essence of these structures can create visually striking images.
- Center Your Subject: In symmetrical photography, placing your subject in the center can enhance the impact of the symmetry. This works exceptionally well in portrait photography.
- Use Symmetry to Create Harmony: Symmetrical compositions often feel harmonious and pleasing to the eye, creating a sense of calm and balance.
- Reflections Are Your Friend: Water bodies, glass, and other reflective surfaces can be used to create natural symmetry.
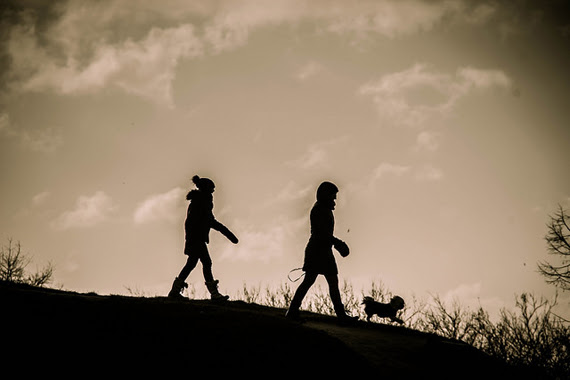
Embracing Asymmetry in Photography
Asymmetry involves an imbalance in the composition, where one part of the frame does not mirror the other. It’s a powerful way to create dynamic, interesting, and thought-provoking images.
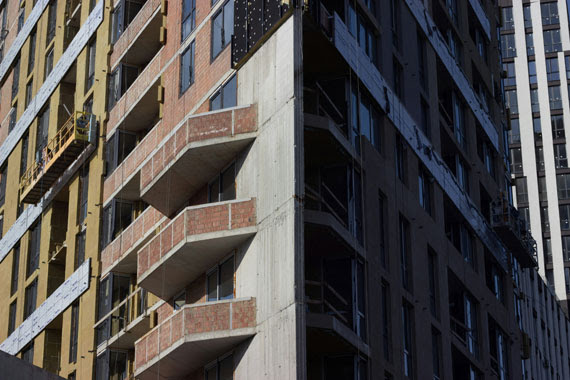
How to Use Asymmetry:
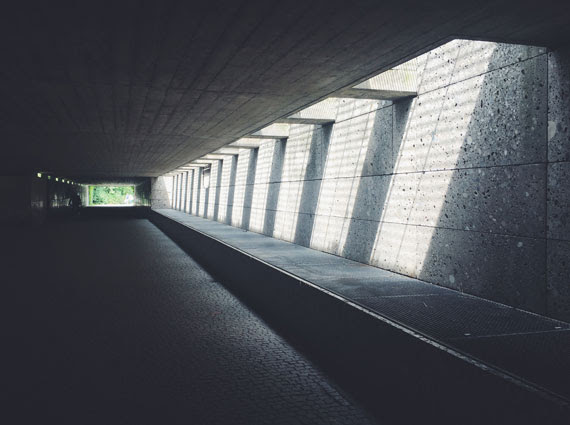
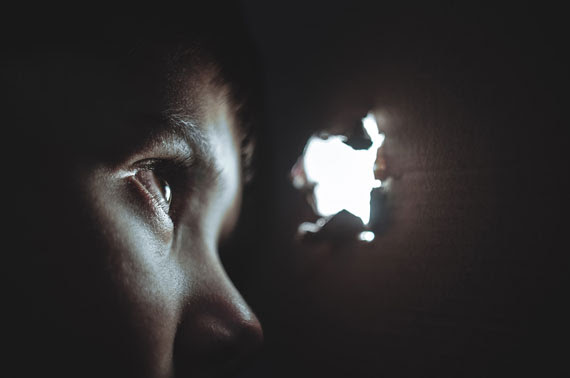
- Rule of Thirds: Imagine your image is divided into nine equal segments by two vertical and two horizontal lines. Place your subject along these lines or at their intersections for a more engaging composition.
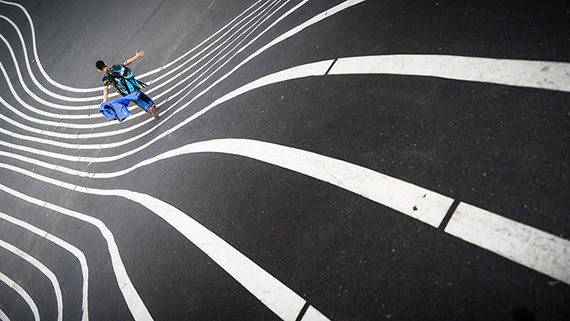
- Leading Lines: Use lines within your frame to lead the eye to your subject. These can be natural, like a row of trees, or man-made, like a winding road.
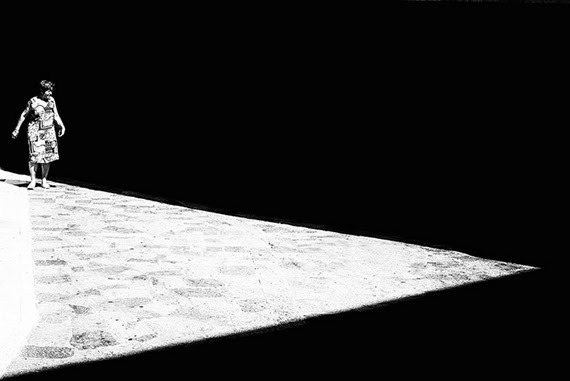
- Play with Angles: Sometimes, just changing your angle can introduce asymmetry in an image. Look for unique perspectives or viewpoints.
- Contrast and Color: Use contrasting elements or colors to create a focal point in your image. This can draw the viewer’s eye to a specific part of the photo.
- Fill the Frame Differently: Instead of centering your subject, place it off to the side and let the rest of the frame ‘breathe’. This can create a sense of movement or action.
Tips for Both Symmetry and Asymmetry
- Understand Your Message: The choice between symmetry and asymmetry should depend on the story you want to tell. Symmetry often conveys peace, stability, and balance, while asymmetry can convey excitement, movement, or unease.
- Experiment: Try both symmetrical and asymmetrical compositions in the same setting to see how they change the mood of the photo.
- Post-Processing: Sometimes, symmetry can be enhanced or created during the editing process, while asymmetry can be emphasized by cropping or adjusting angles.
- Keep Practicing: The more you practice, the better you will become at seeing and utilizing these compositional elements in your photography.
In conclusion, both symmetry and asymmetry have their unique appeals and can greatly impact the composition and storytelling of your photographs. By understanding and applying these principles, you can add depth and interest to your photography, regardless of your subject. So, grab your camera and start experimenting with these composition techniques today!