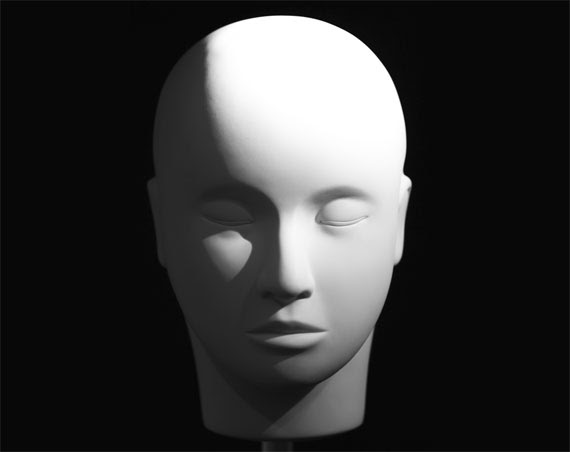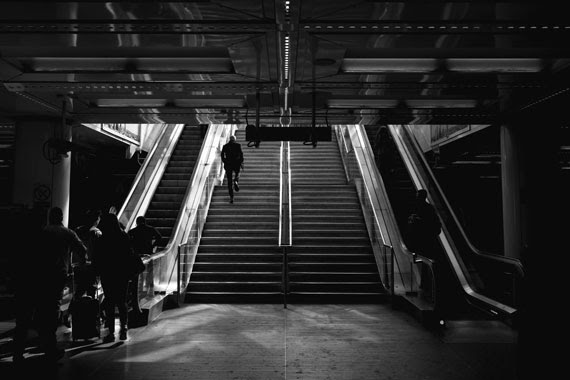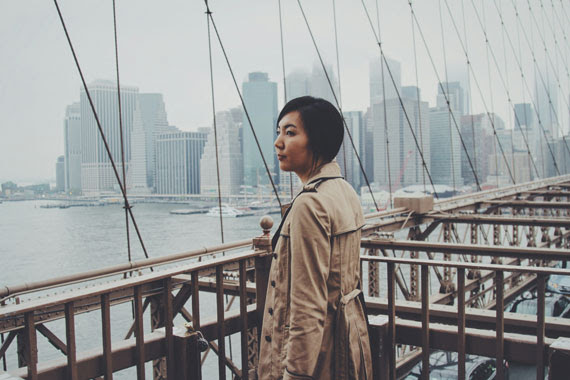
Dive in Low light & Time Lapse photography
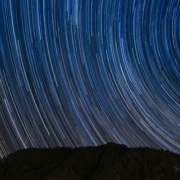
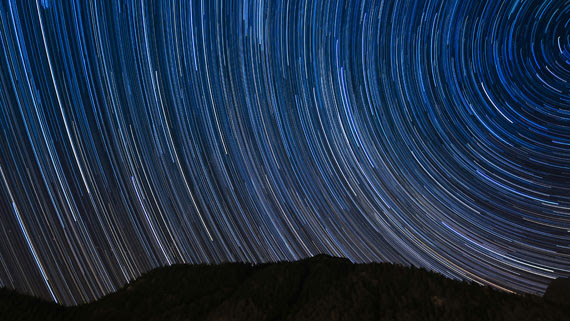
Timelapse photography is an awe-inspiring technique that compresses hours of footage into just a few seconds, revealing the subtle beauty of slow-moving changes. Whether it’s clouds scudding across a blue sky, a bustling cityscape, or a blooming flower, timelapse allows photographers to capture the dynamics of scenes that would otherwise be too subtle for the naked eye. In this post, we’ll explore the essentials of timelapse photography, providing you with the knowledge to start capturing your own stunning timelapse videos.
What is Timelapse Photography?
Timelapse photography involves taking a series of photos at regular intervals and combining them into a seamless video. By speeding up time, timelapse photography can turn seemingly mundane scenes into captivating sequences.
Equipment You’ll Need
- Camera: Any camera that has a manual mode and can shoot in RAW will work well. DSLRs and mirrorless cameras are popular choices due to their high-quality sensors and versatility.
- Tripod: Stability is key in timelapse photography. A sturdy tripod will ensure your camera stays immobile during the shoot.
- Intervalometer: This device or camera feature allows you to program the shooting intervals. Some cameras have built-in intervalometers, but external ones offer more flexibility and reliability.
- Memory Card: Since timelapse photography involves taking a large number of photos, a high-capacity memory card is essential.
Extra Batteries: Running out of battery during a shoot can ruin your timelapse, so having extra batteries on hand is crucial.
Setting Up Your Shoot
1. Choosing a Subject
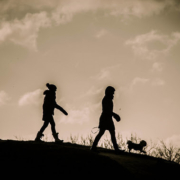
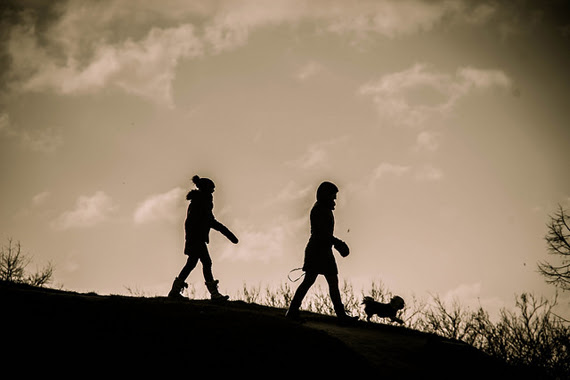
Pick a dynamic subject that changes over time, like a sunset, a busy pedestrian area, or changing weather patterns.
2. Framing Your Shot
Compose your shot as you would any other photograph. Remember, though, you’re capturing movement over time, so anticipate how elements might move within the frame.
3. Setting Intervals
The interval between shots depends on the speed of the subject’s movement. Faster movements (like clouds on a windy day) might require shorter intervals (e.g., 2-5 seconds), whereas slower movements (like shadows moving across a building) can use longer intervals (e.g., 30 seconds to 1 minute).
4. Manual Settings
Set your camera to manual mode to keep exposure consistent throughout the shoot. Aperture, shutter speed, and ISO should be manually adjusted based on the lighting conditions and desired effect.
Shooting and Post-Processing
Shooting
Start your intervalometer and let your camera do the work. Monitoring the process is crucial, especially for long-duration shoots, to ensure everything operates smoothly.
Post-Processing
Once you have your series of images, you can use software like Adobe Lightroom and LRTimelapse to edit and stitch your photos into a timelapse video. Post-processing allows you to adjust exposure, color balance, and other elements to ensure a consistent look across all frames.
Tips for Success
- Weather Check: Always check the weather forecast before heading out. Unexpected weather can not only ruin your shoot but also damage your equipment.
- Golden Hours: Shooting during sunrise or sunset provides beautiful lighting conditions and adds dramatic effects to your timelapse.
- Experiment: Don’t be afraid to experiment with different intervals, settings, and subjects. Each location and subject will require a unique approach.
Timelapse photography is not just about capturing stunning videos; it’s about viewing the world in a new way. With patience and practice, you can unveil the hidden patterns of nature and human life, providing a mesmerizing perspective on the world around us. Happy shooting!