Key Aspects of Composition in Flower Photography
Flower photography is an art form that allows us to capture the delicate and ephemeral beauty of flowers. Whether you’re a professional photographer or an enthusiast capturing blooms in your garden, understanding the principles of composition can significantly enhance the impact of your photographs. In this blog post, we’ll explore the most crucial aspects of composition in flower photography to help you create stunning, evocative images.
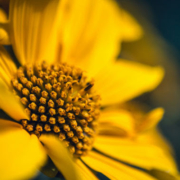
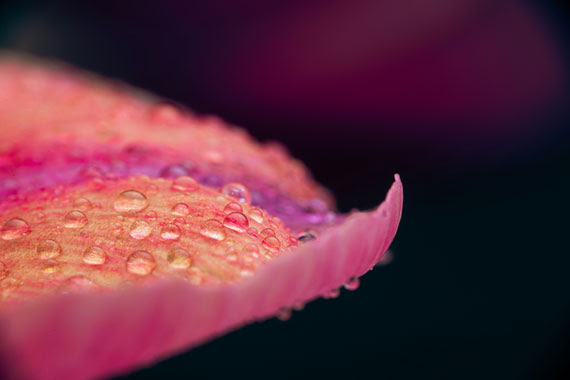
1. Focus and Clarity
The focal point in flower photography is paramount. It’s essential to decide what part of the flower or scene you want to highlight. This could be the vibrant petals, the intricate patterns of the stamen, or even droplets of dew on the flower’s surface. A clear focus point draws the viewer’s eye and establishes the subject of your photograph. Employing a shallow depth of field can help isolate the subject, ensuring it stands out against a softly blurred background.
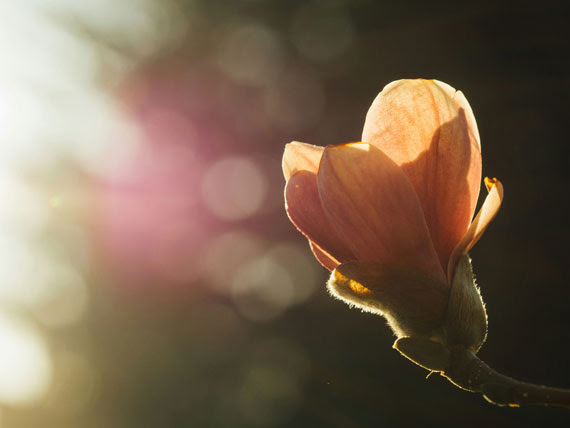
2. Lighting
Lighting can make or break a flower photograph. The best flower photos often utilize natural light, which can highlight the translucence of petals or cast fascinating shadows, adding depth and texture. The golden hours—shortly after sunrise or before sunset—offer soft, warm light that can enhance the colors and mood of your floral subjects. Conversely, overcast days provide diffused light that evenly illuminates a flower, minimizing harsh shadows and highlights.
3. Composition Rules
Understanding and applying composition rules can significantly improve your flower photography. The rule of thirds, for instance, involves dividing your image into nine equal segments with two horizontal and two vertical lines. Placing the flower or an interesting part of it at the intersections or along the lines can create a more engaging photo. Meanwhile, the use of leading lines or patterns can guide the viewer’s eye through the image, adding interest and movement.
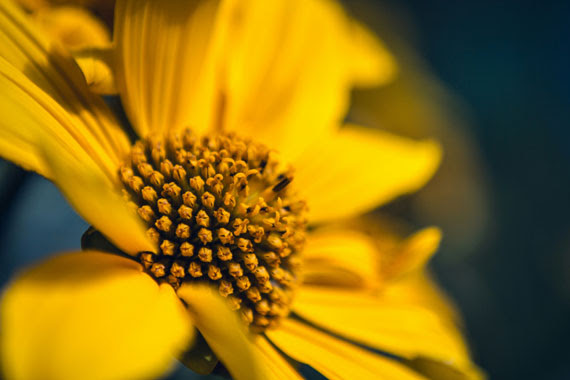
4. Color and Contrast
Color plays a vital role in conveying the mood of your flower photographs. Warm colors can evoke feelings of passion and energy, while cool colors can impart a sense of calm and tranquility. Utilizing contrasting colors can make your subject pop and add vibrancy to your image. However, it’s essential to balance color contrast to ensure it enhances rather than overwhelms the subject.
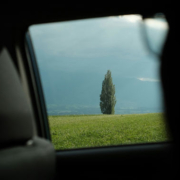
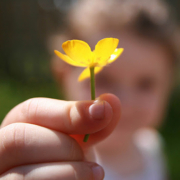
5. Background and Context
The background can either complement your flower or distract from it. A cluttered or busy background can detract from the subject, while a simple, unobtrusive backdrop can make it stand out. Sometimes, including contextual elements like other flowers, leaves, or even the environment can add depth and tell a more compelling story. The key is to maintain a balance that supports the subject of your photograph.
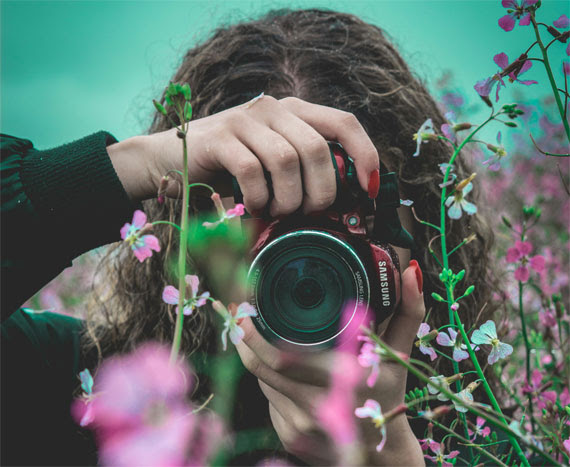
6. Perspective and Angle
Changing your perspective or shooting angle can unveil a flower’s character in unique and unexpected ways. Don’t hesitate to experiment with different viewpoints, such as shooting from a low angle to capture the grandeur of a flower reaching towards the sky or getting close to reveal the intricate details of its texture and patterns. Each angle tells a different story and can evoke distinct emotions.
7. Simplicity
Sometimes, less is more in flower photography. A simple composition that emphasizes the flower without unnecessary distractions can be powerful. Simplicity often encourages the viewer to pause and appreciate the beauty and details that might otherwise go unnoticed.
In conclusion, mastering the aspects of composition in flower photography allows you to not only capture the beauty of your floral subject but also convey emotion and story. By focusing on these key elements, you can elevate your flower photographs from mere snapshots to compelling images that resonate with viewers. Remember, the best way to improve is to practice consistently, so don’t hesitate to explore, experiment, and let your creative vision flourish through your lens.